DIY: Planting Bulbs
DIY: Planting Bulbs
It’s the end of April and the sun is shining more regularly now. There is a definite warmth to the air and shadows are getting shorter and the days are longer. The garden has been hibernating for the winter but is now starting to burst forth with new leaves and Spring colour. So how can you prepare for the gardening season ahead?
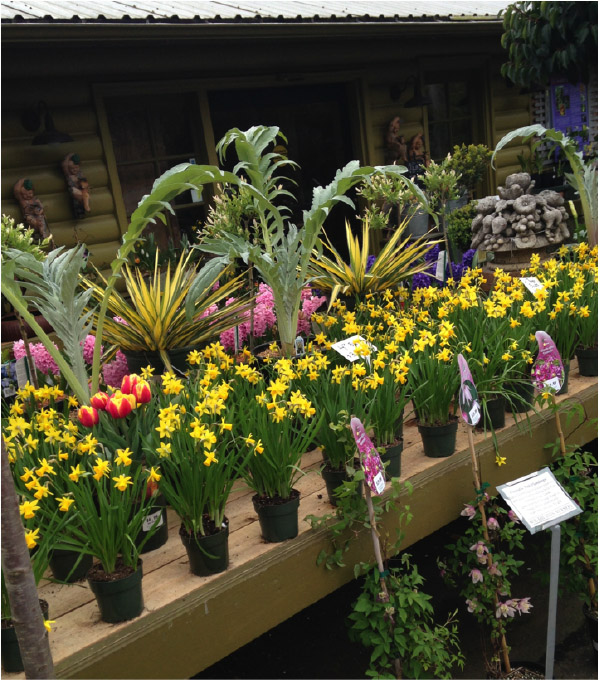
Now is the time to plant summer bulbs-Ranunculus, Lilies and Gladiolas will offer beautiful summer display.
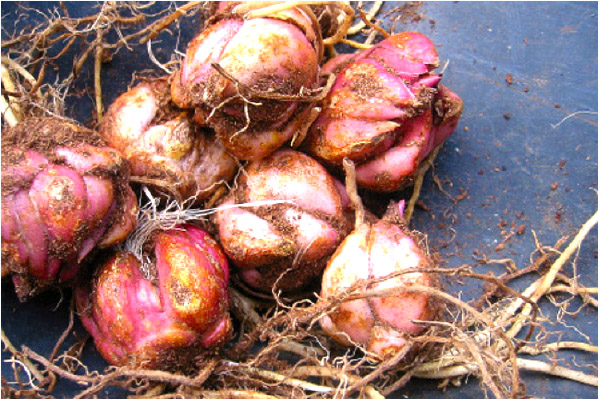
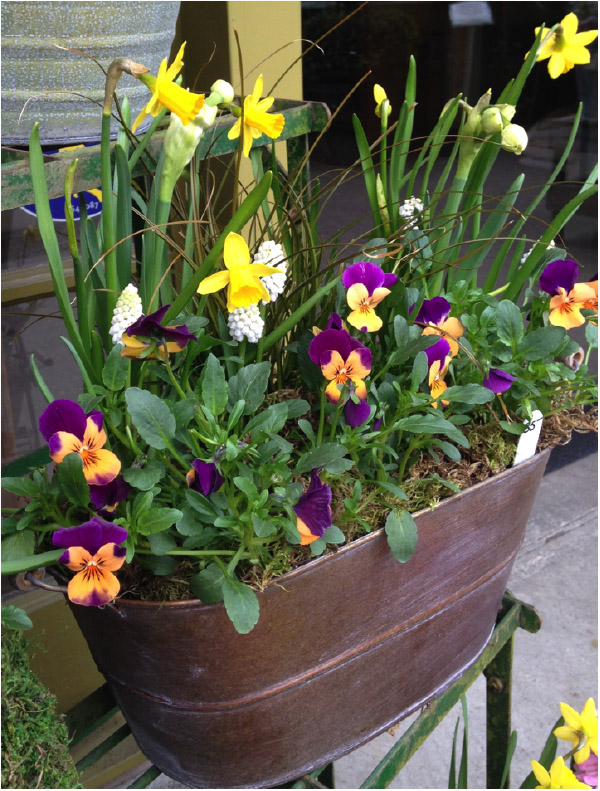
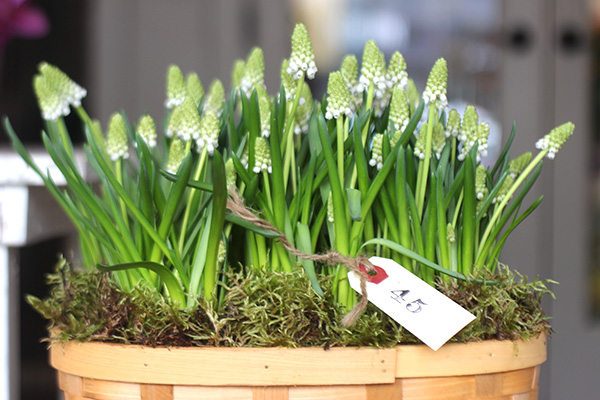
Bulbs can be planted in containers or borders. Different species have different soil requirements so do make sure you check out the label on the package or at the nursery to ensure you are planting at the correct depth and in the correct soil. BUT rule of thumb is most bulbs prefer well drained soil as sitting in water logged soil will cause the bulbs to rot. A rule of thumb for planting depth is most bulbs like to be planted at three times their bulb height.
Always plant the bulb with the pointed (growing) tip upwards. It isn’t always obvious which end is the growing tip so if in doubt you can plant it on its side.
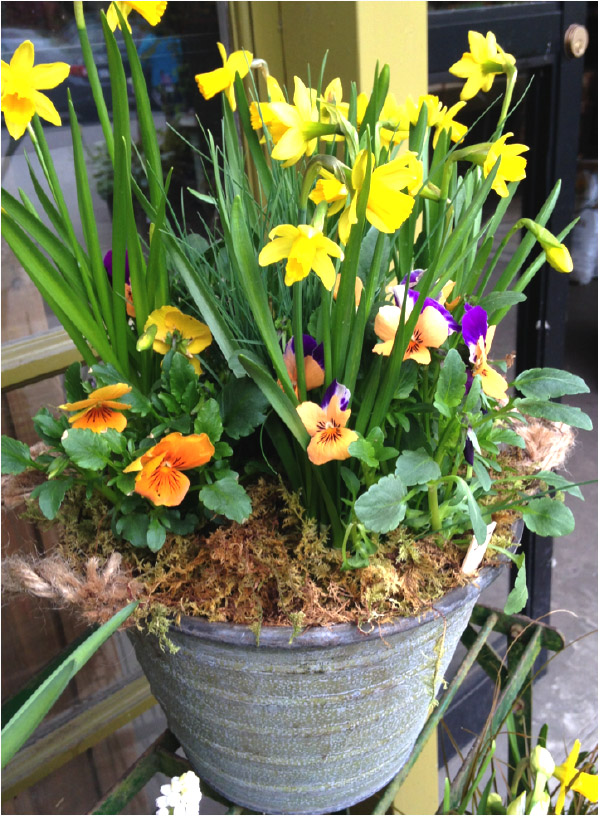
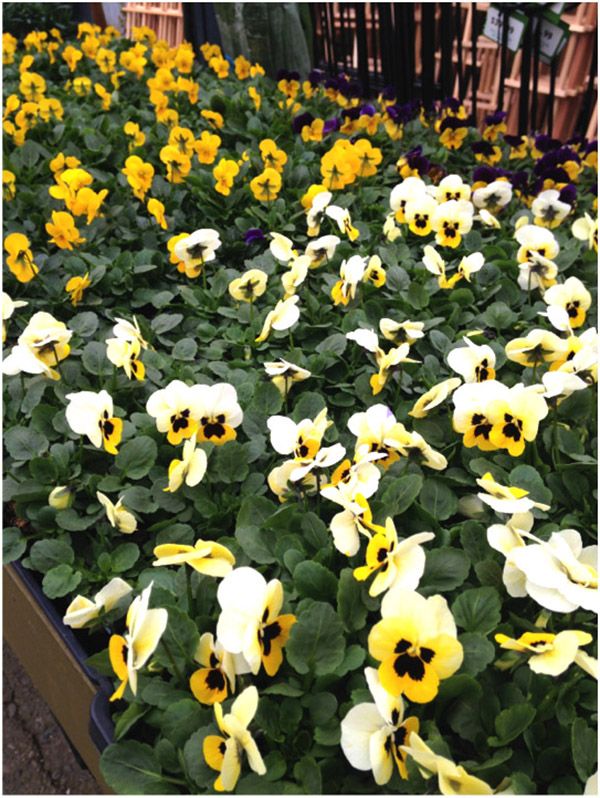 Planting bulbs in containers will allow you to move the container to a prime location for showing them off when they are in full bloom. Once they are dying off you can move the container out of view. There is specially prepared soil/compost mix for bulbs which can take the guess work out of the soil composition but if you prefer to do it yourself you can use good quality compost mixed with a couple of handfuls of grit to improve the drainage.
Water the bulbs regularly as they are growing. As they start to die back and become dormant you can cut back on the watering.
Show us some of your garden handywork. Are you using any special containers this year? What bulbs do you like? Let us know!


