In the garden: harvest your efforts
With sunshine and warm temperatures in our Vancouver forecast, who isn’t itching to spend more time outdoors or on a great patio? Wouldn’t it be a dream to skip produce shopping and instead opt to grab fresh flowers, veggies, and herbs from your own garden? With some mellow summer music and sangria in hand, harvesting your garden can feel more like a mini vacation than another chore.
Depending on what you planted you may not be ready to start harvesting your goods for a few weeks, but we thought we would share a few ideas of what to do with your plants when they’re ready (if you’re still debating whether to start a garden– consider this our closing argument! Even non-edible plants for a dash of style are okay in our books). As vegetables and fruits are pretty self explanatory we will focus on the herbs and flowers. The following is a breakdown of how to harvest and store herbs, a recipe for sage butter, and a couple suggestions for incorporating gorgeous blooms in your culinary creations.
Harvesting and Storing Herbs
Whether you have your plants indoors or out, consider this a blanket rule for all harvesting and pruning: do it before midday. Snip tendrils and pick leaves before the sun gets too high/hot and has a chance to dry out the herbs and weaken their flavour. By harvesting in the morning you are also giving the plants time to react to their newly bare branches before the afternoon heat gets to them, theoretically encouraging healthier regrowth.
There are two basic categories of herbs: woody and tender. Woody herbs (think rosemary, sage, thyme, and lavender) are herbs that develop a woody stalk over time and are harvested by snipping stems as needed. Tender herbs (think basil, parsley, and tarragon) are herbs that are leafier with tender stems and are typically harvested leaf-by-leaf or by the stem if the plant is large enough. *Note: Do not over-harvest as this impedes the growth and health of the plant!
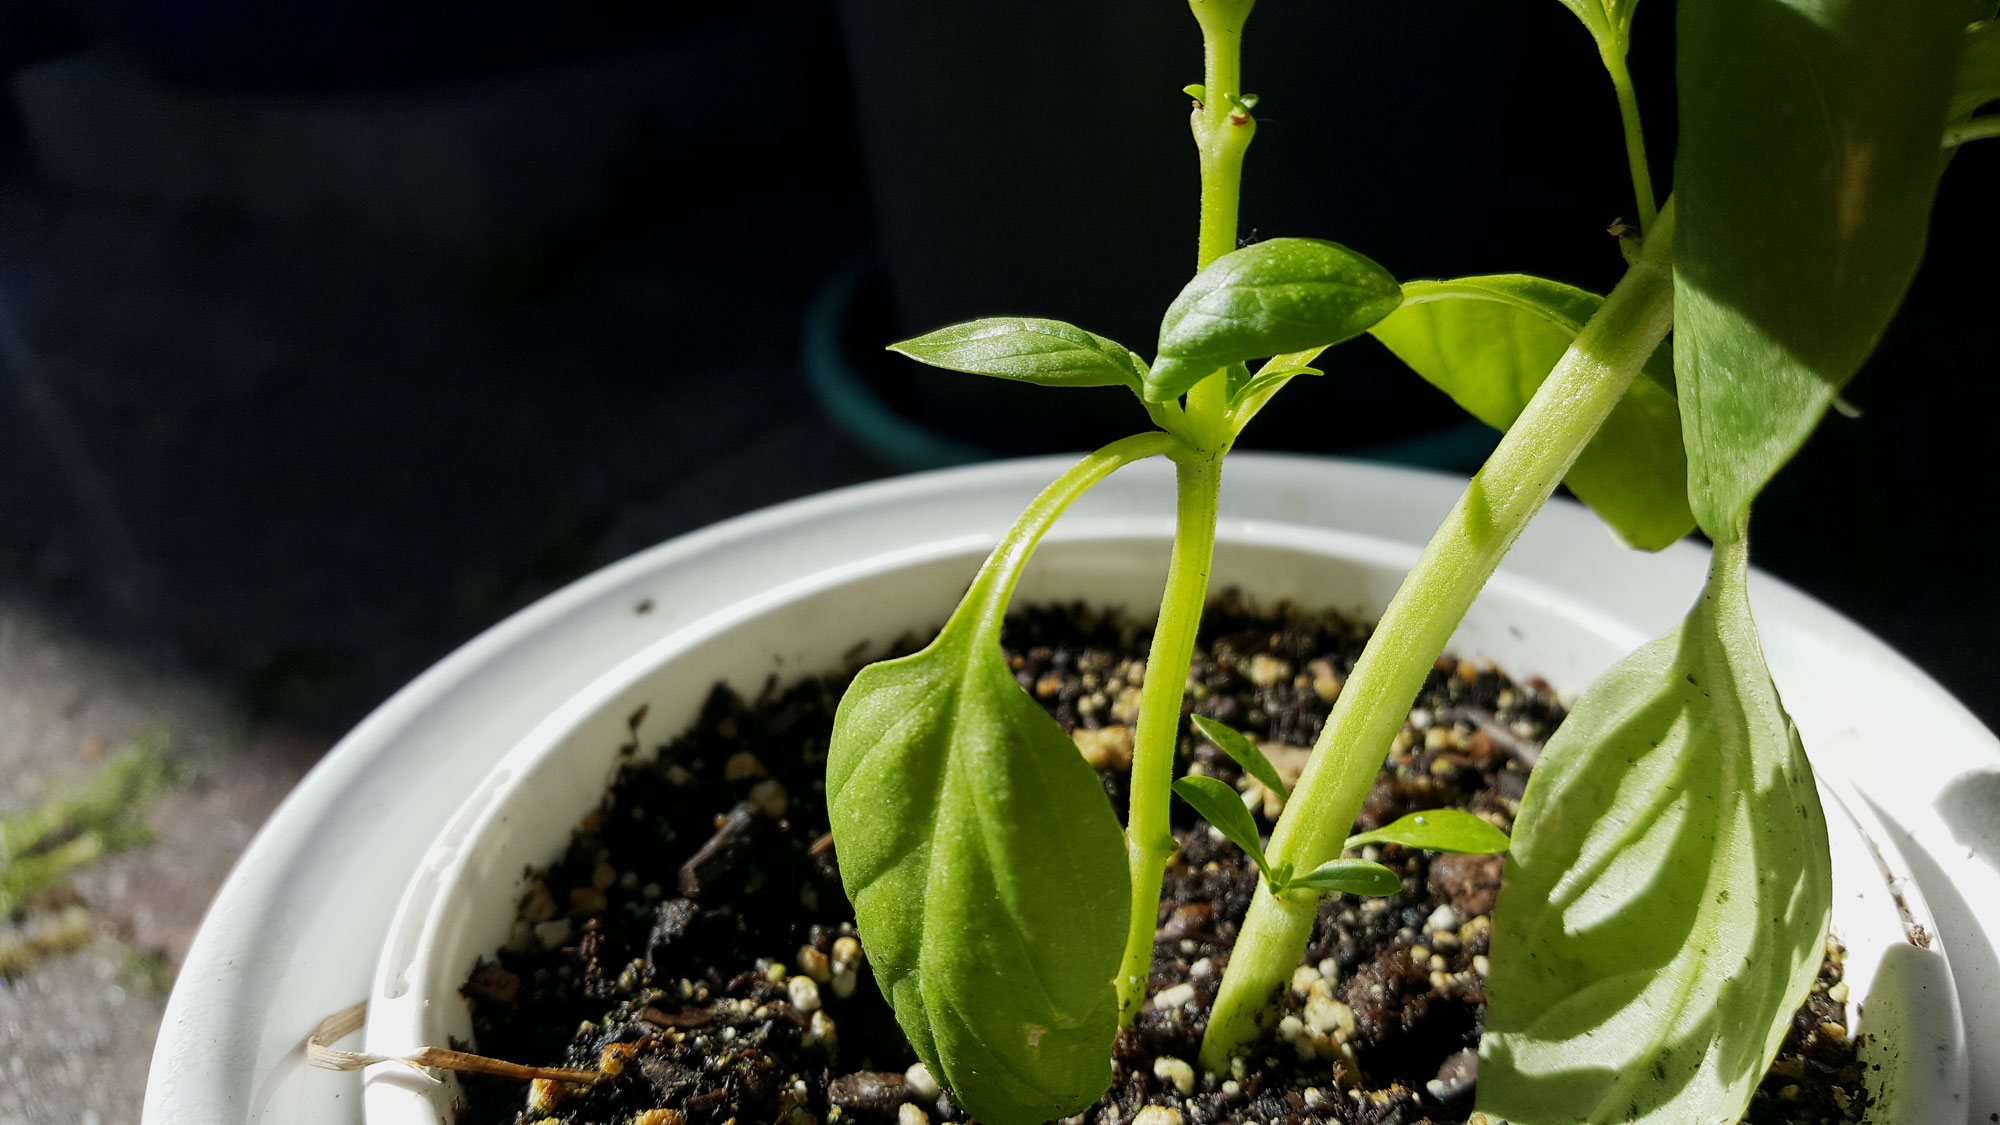
This Basil plant is a bit more mature… the droopy leaves are perfect for harvesting as they are actually making room for a new stem and more leaves
After collecting your herbs you have a couple choices– use them right away, or keep them. By using herbs fresh you will get a wonderful flavour and freshness. If you choose to preserve your herbs for later use (or if you just have an exceptionally bountiful harvest.. or I guess if you just bought too much at that last farmers market…) there are a two basic options open to you.
Option 1: Freezing
Best suited for: Basil, Mint, Parsley, Chives, Cilantro, Lemon Balm, and other herbs on the tender side…
Shelf life: Varies, try to use within 2 weeks to retain that fresh flavour.
Process: Take your herb of choice and rinse in cool water. Dry herbs and lay out on a baking sheet in a single layer, place in freezer overnight. The next day, transfer leaves to an airtight freezer-bag (or your freezer storage of choice) and store. *Note: When defrosted, leaves will very likely be limp, if you’re looking for a garnish pick fresh!
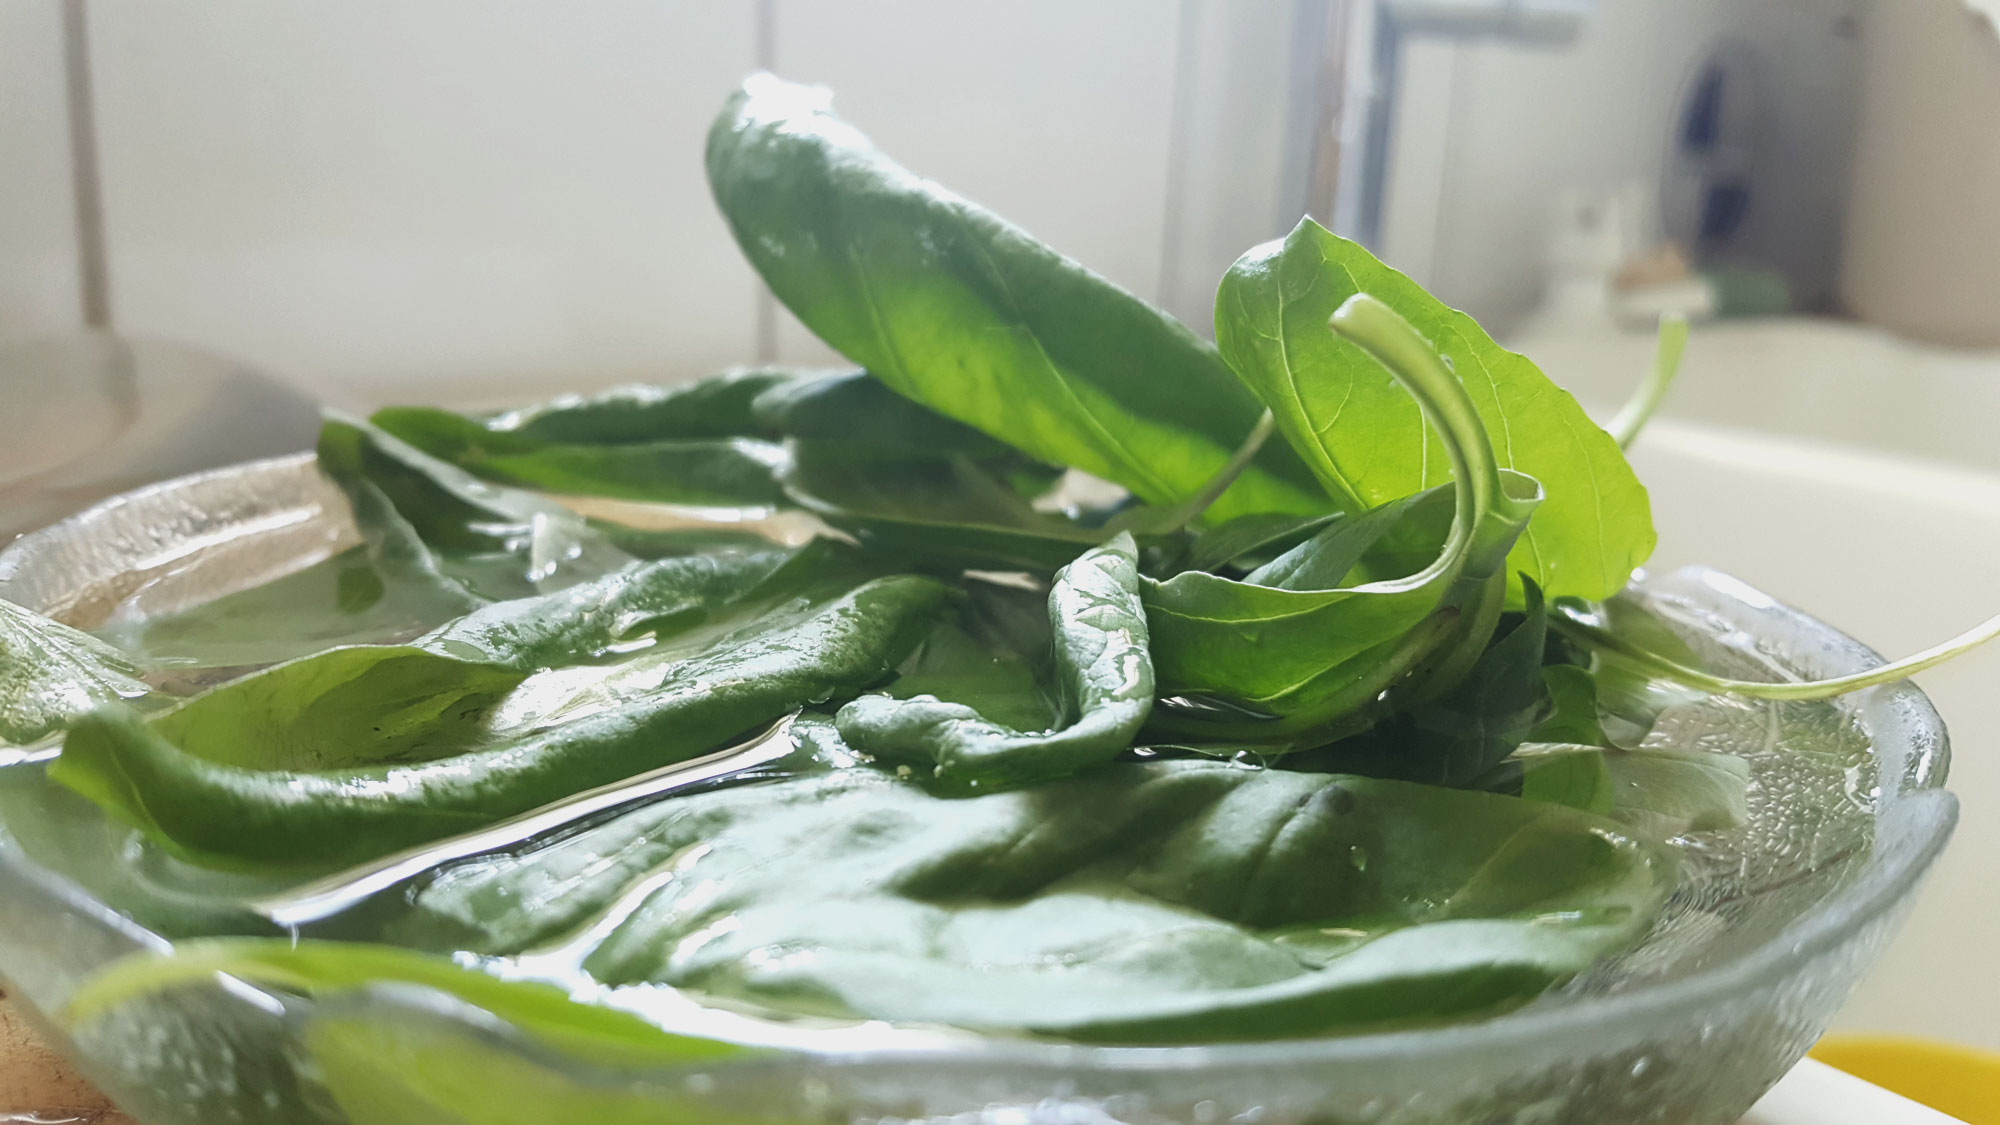
This basil harvest is waiting to be dried and frozen… or rinsed and chopped up for bruschetta. Sometimes good things can’t wait.
Option 2: Drying
Best suited for: Thyme, Sage, Rosemary, Oregano, Typically herbs on the woodier side….
Shelf life: 6-12 months, but the longer you wait to use, the more flavour will be lost and there are increased chances of herbs going stale.
Process: There are numerous ways to get the moisture out of herbs. The speed of the oven and microwave mesh well with our busy lives, but there is something utterly romantic and nostalgic about air-drying. Have some scissors and kitchen twine on hand! Take a bundle of 5 or so stems and wrap the kitchen twine tightly around the stems about an inch from the end and tie it off (be sure to leave about 20cm of twine to secure it to a hanging spot). Put your bundle in a paper bag (to catch any loose leaves) or if you don’t mind sweeping up a few stray bits, leave as is. Ideally it should hang in a dry, dark place away from direct sunlight. Tape/tie the free twine to your chosen spot and let sit for between a few days and a couple weeks– leave should feel crispy when fully dried. Use immediately, store, or grind as you wish!
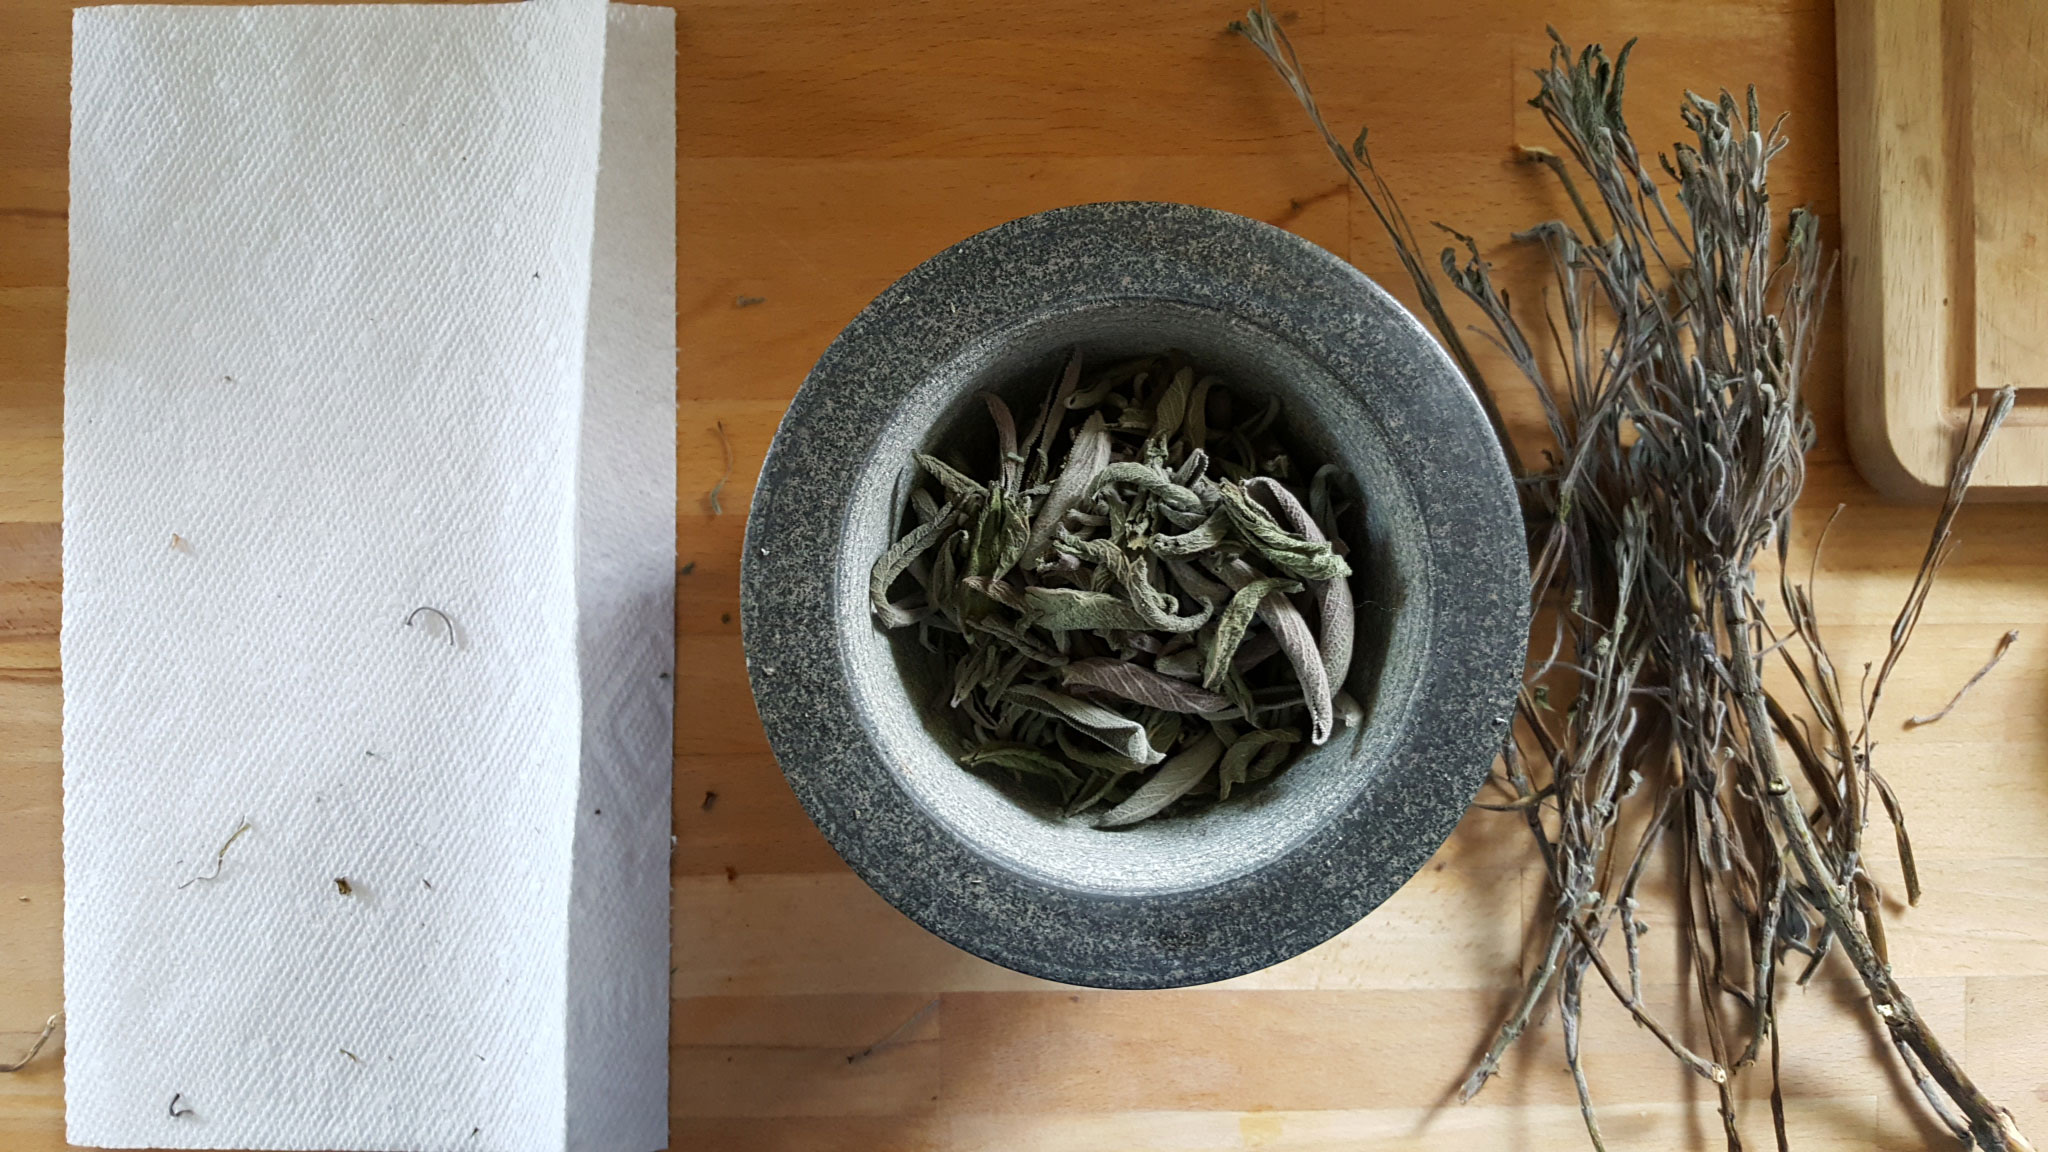
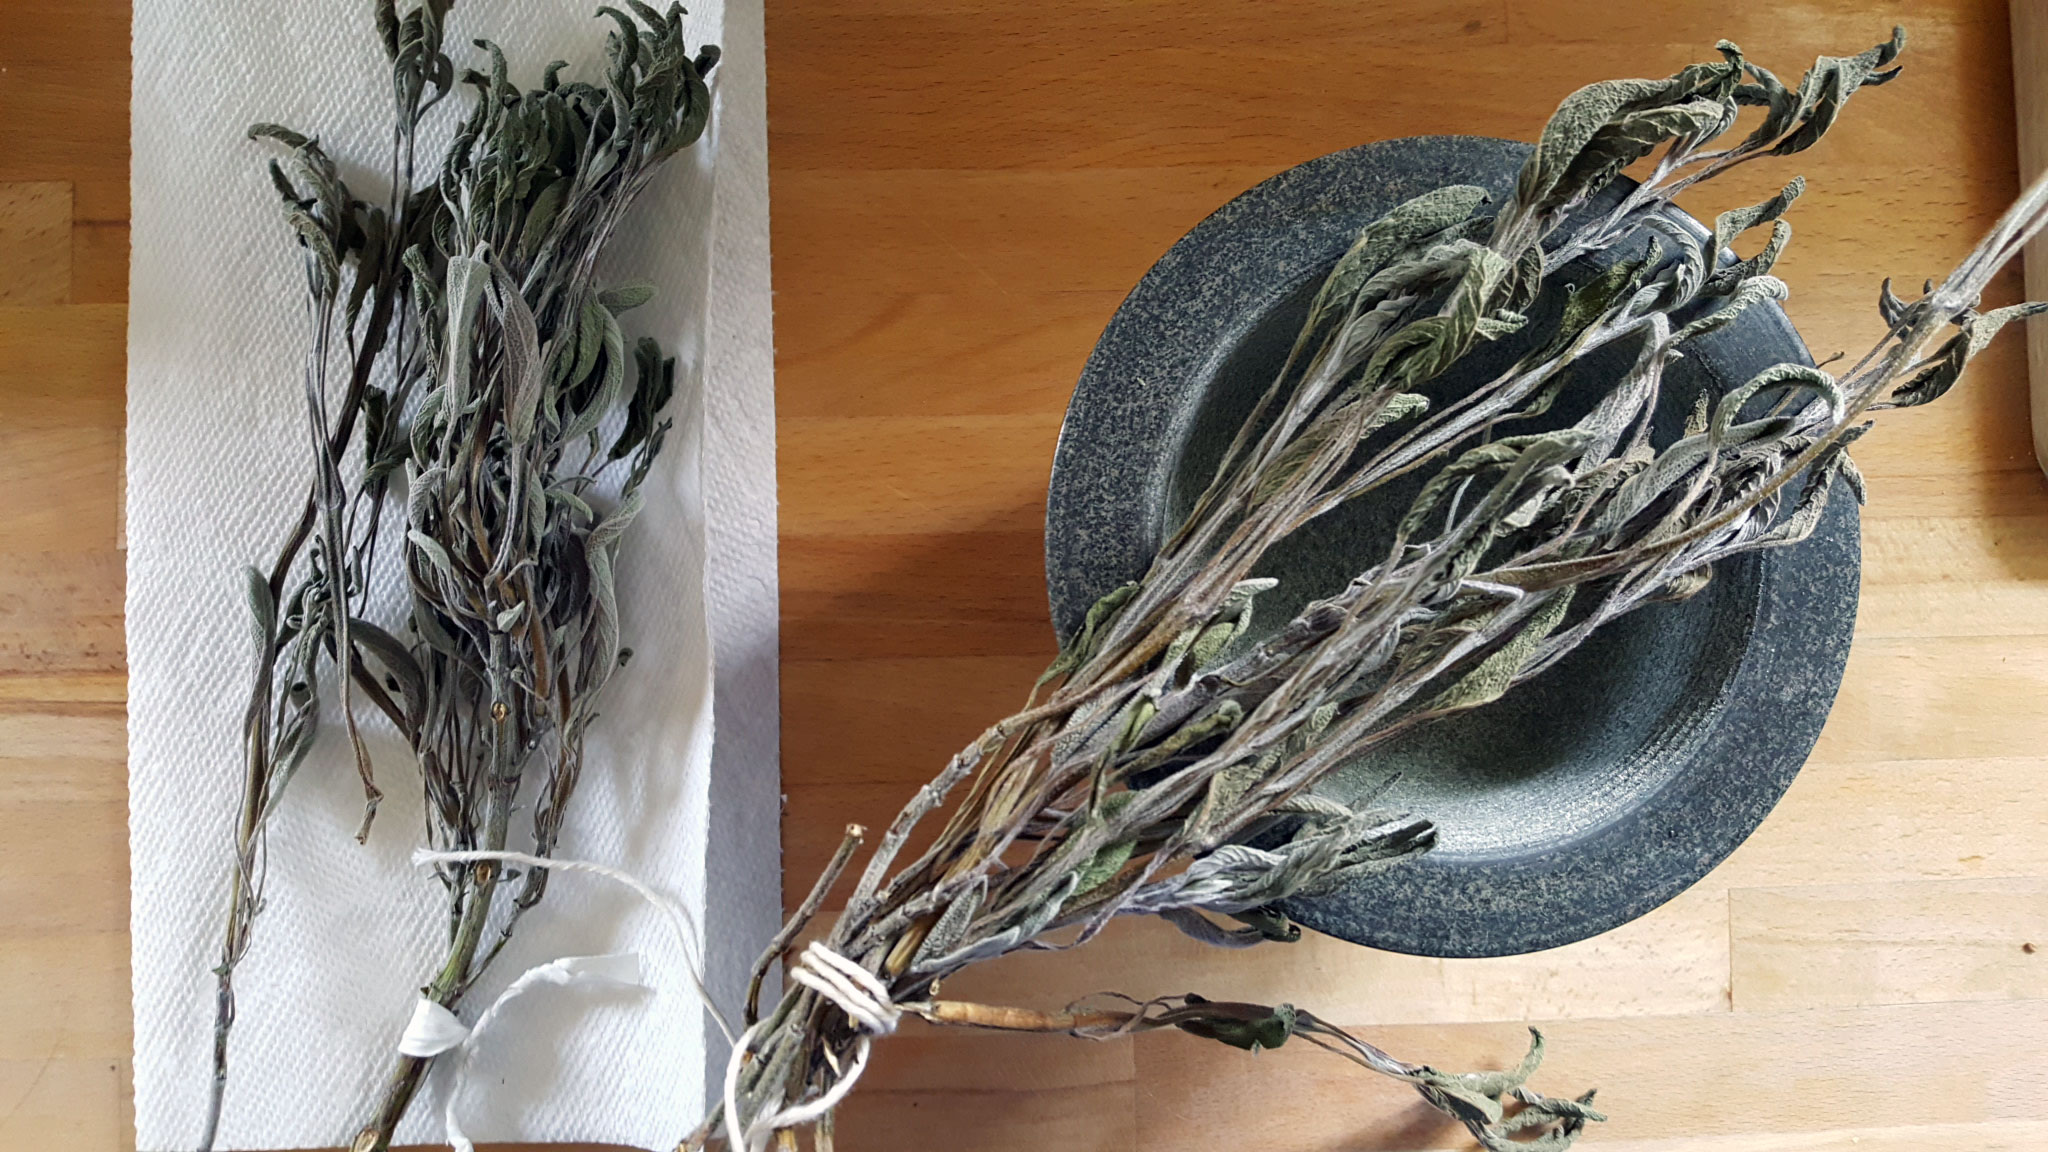
For this bundle of sage, air-drying was the go-to technique. The dry leaves met with the mortar and pestle and were ground into a super-fragrant powder.
Herb Butters
Another way to infuse your meals with a dash of garden-grown flavour is to craft herby butters (as a bonus these can be prettily packaged to make a really lovely host/ess gift). Recipes are everywhere and some work better with fresh or dried herbs– be sure to read carefully and use the right form of the herb as the intensity of flavour is impacted! The recipe below is a good guideline to start with…
The-sage-from-that-last-photo Butter
- 1/2c fresh Sage leaves OR 1-2 tablespoons of dried Sage
- 1 large Shallot
- 1/2c unsalted butter at room temperature
- salt and pepper to taste
- Parchment Paper for wrapping
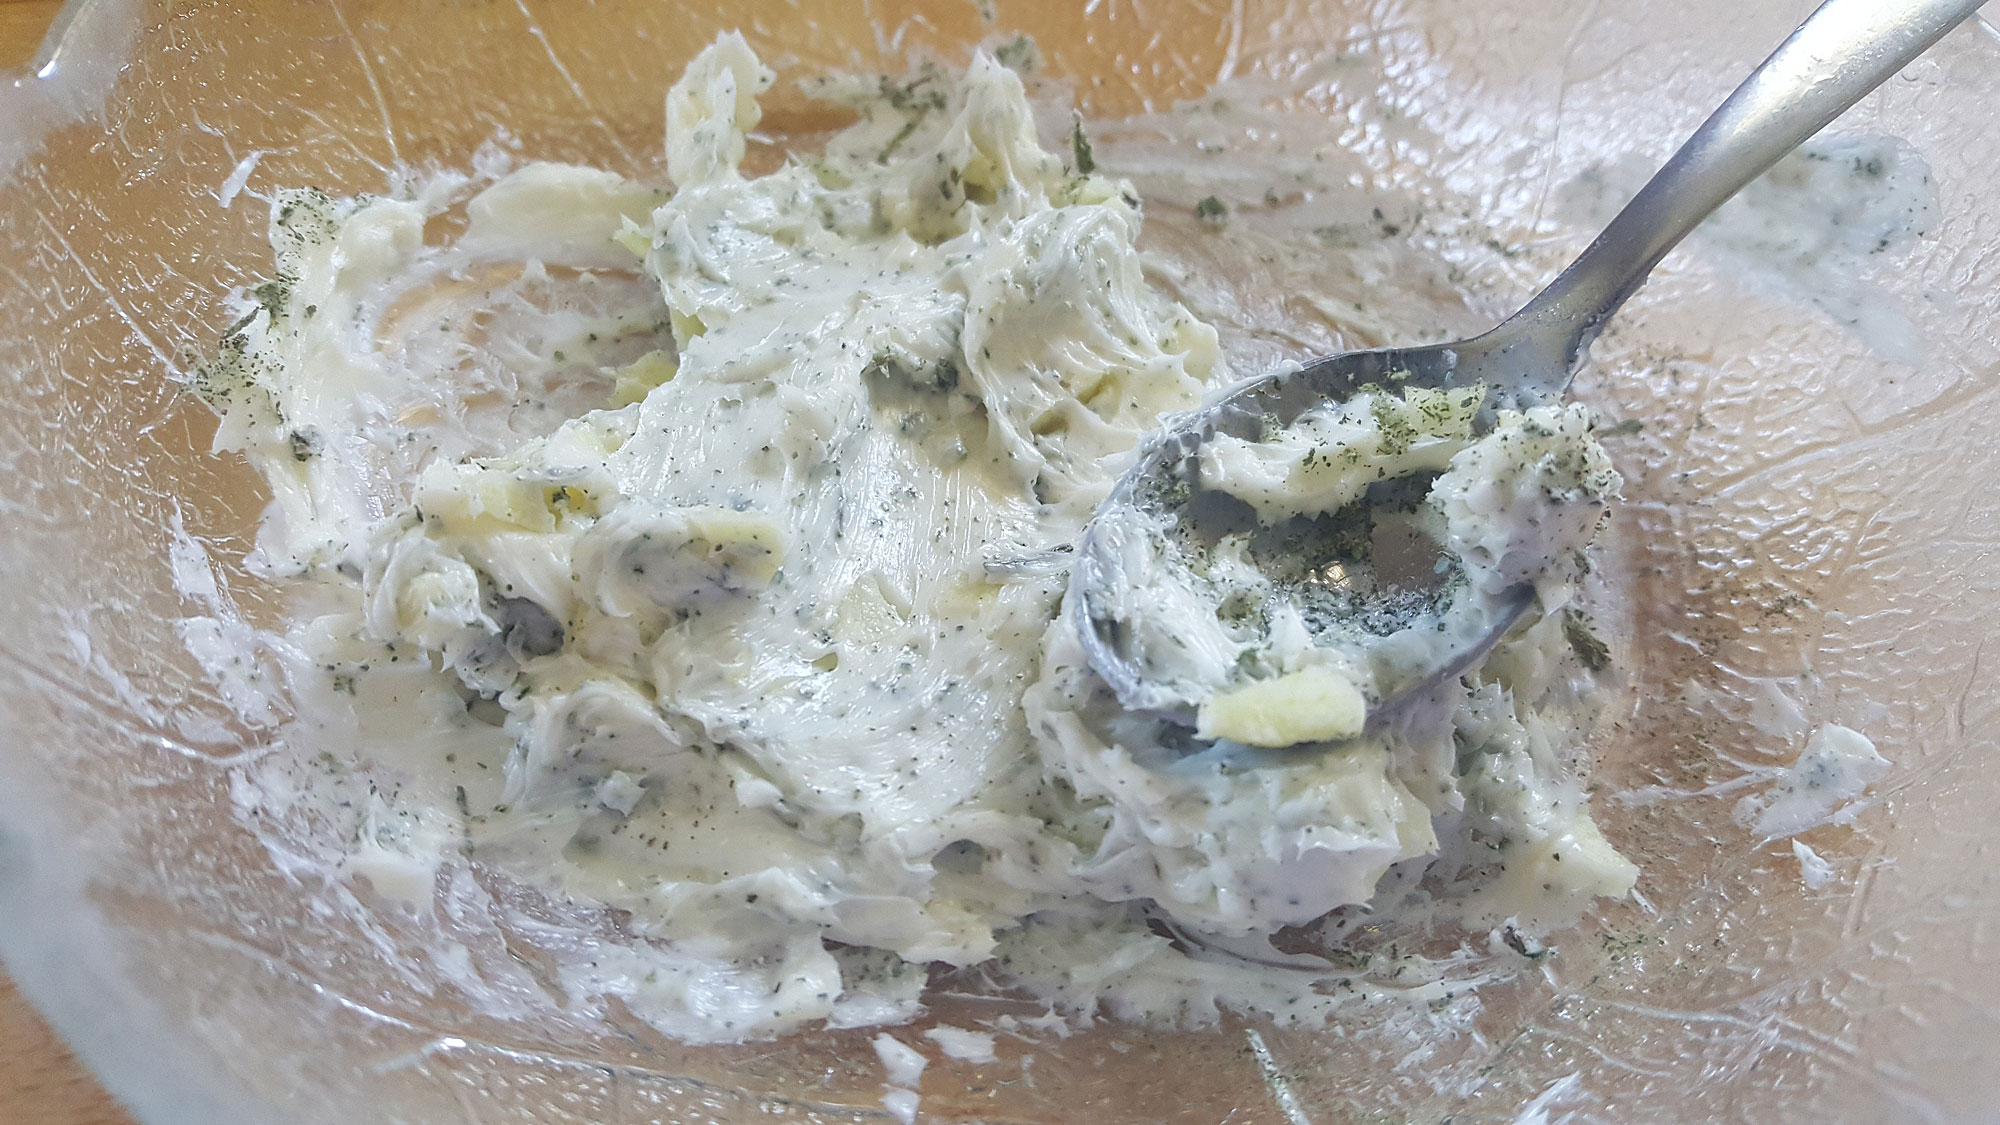
Finely chop the shallot (and fresh sage leaves) in a food processor, or by hand (very fine, mind you!). Put sage, shallot, and butter together in a bowl and mix until fully and evenly combined. Add salt and pepper to personal taste levels. Place mixture on parchment paper and gently form into a log. Wrap paper tightly around butter and place in fridge to firm up.
A Feast of Flowers
You’ve seen the pins and instagrams– beautiful dishes with accents of petals and fresh blooms. These instantly evoke images of weekend get-togethers that last long into warm summer nights and the chorus of ooo’s and aahhh’s from dinner guests. Incorporating fresh flowers have more benefits for your cooking than just the ability to attract likes on social media. Like other greens, petals and blooms have distinctive flavours and can be utilized like salad greens (though admittedly a bit prettier). Below is a list of popular flowers to use in the kitchen and their flavour profile:
Arugula Blossoms: a little bit spicy–like the greens they come from
Basil Flowers: very mild
Calendula: a bit peppery and tangy
Carnations: mild and sweet, very similar to their scent
Chive Blossoms: similar to herb, a sharp oniony-sweetness
Fireweed: delicate and floral (and a BC native!)
Hibiscus: tart and cranberry-like
Jasmine: very fragrant, similar to scent
Lavender: just like the scent, very floral
Lilac: floral-citrus
Mint Flowers: similar to scent
Nasturtiums: a peppery start with sweet and floral finish
Pansies: very mild, almost bland
Rose: darker colours will have a stronger flavour, any whiteness near the center will have a bitter taste
Rosemary: similar to herb flavour
Squash Blossoms: very mild squash taste, stamens must be removed (popular stuffed and baked!)
*Note: Many flowers (rose, chrysanthemums etc…) will have a bitter part in the middle– avoid that if possible!
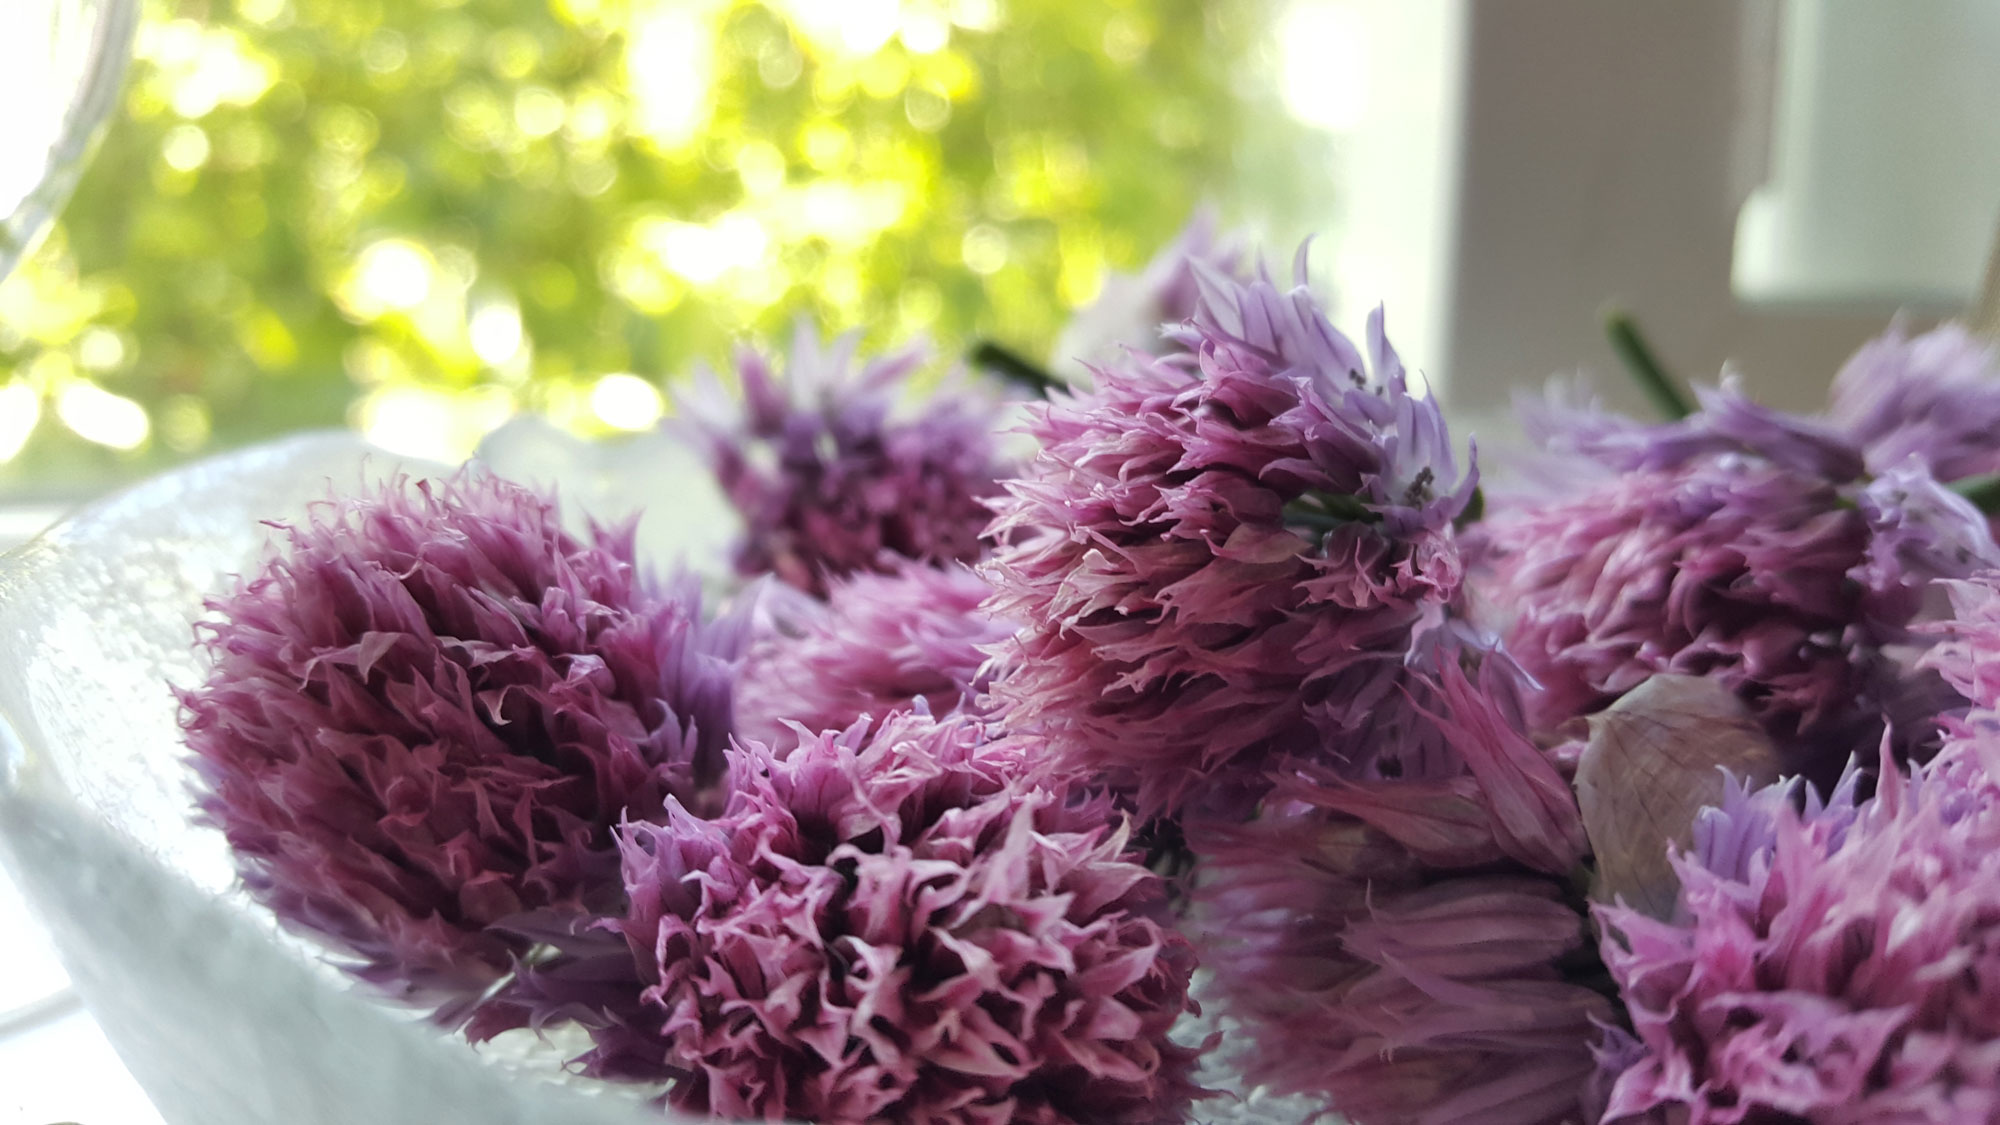
Chive blossoms are a pretty way to add a bit or purple to savoury dishes. The flavour is similar, but more mild than the chive plant
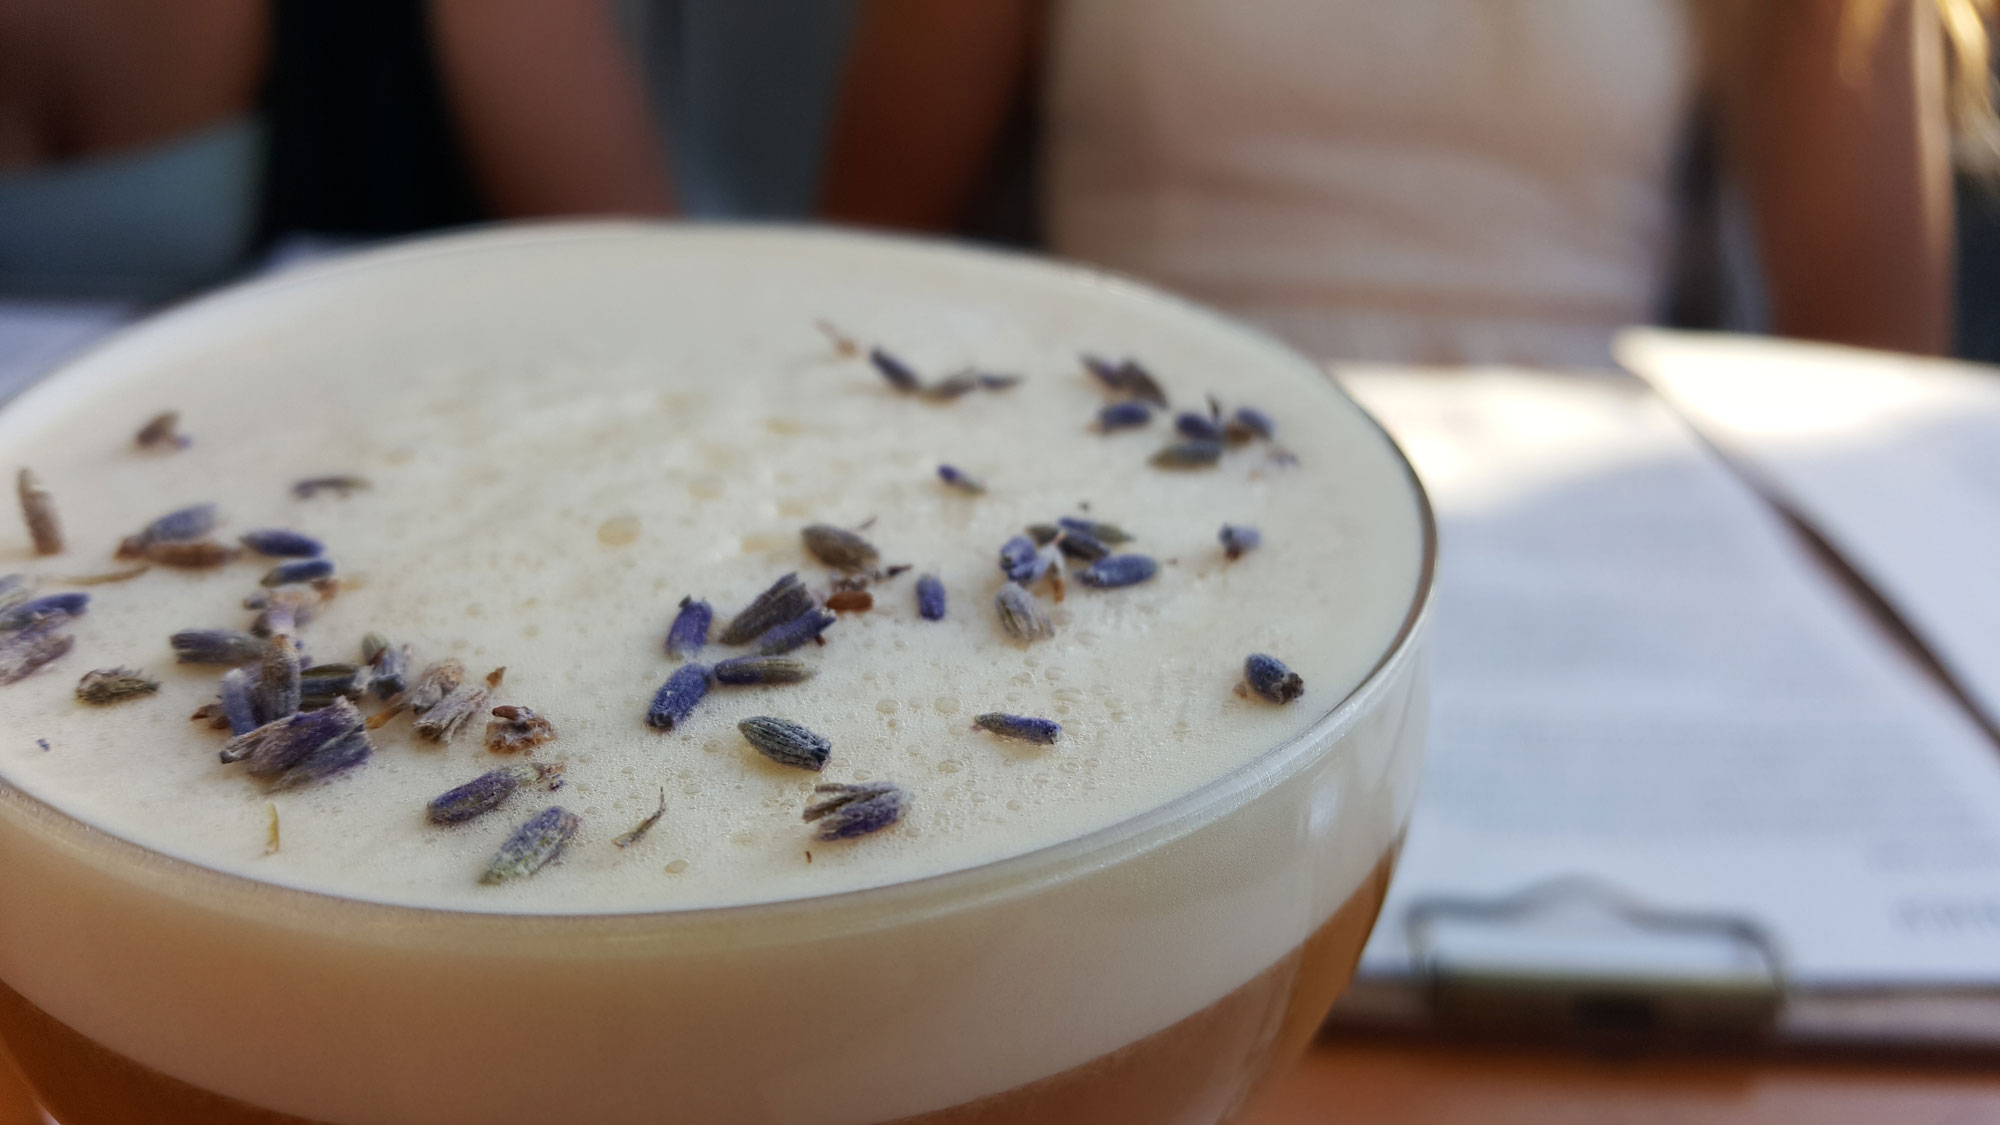
Sipping pretty– the British Properties cocktail at Edible Canada features a garnish of lavender flowers
Of course you can also harvest your florals for decoration– a flower arrangement is another perfect pairing for a summertime meal or as a natural home accent. Whether you are ready to harvest now, in a few weeks, or if you still have to run to the garden center and select a few new green friends… the results are equal parts delicious and beautiful and absolutely worth the wait.


