
Happy Kitchen Project: DIY Ombré Tea Towels
Day 4 Happy Kitchen Project: Do it yourself Ombré Tea Towels
We have been talking about a “happy kitchen” and how to achieve that. We’ve talked about colour and how colour can infuse a space with a lot of personality.
Once you have your inspiration and colour palette decided on, try implementing some of the projects and ideas we have come up with. We love this project because it is simple, and you could do it with kids or make them for gifts!
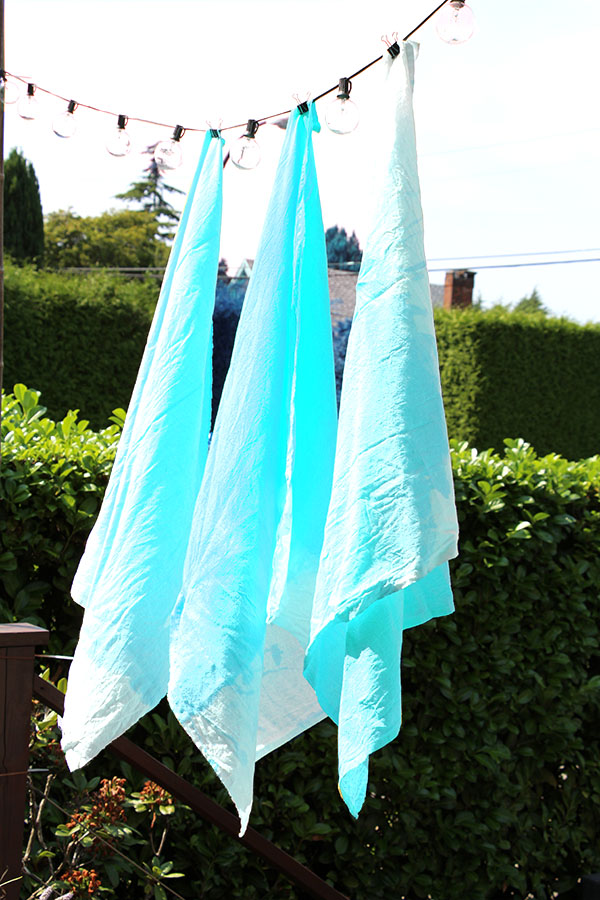
For day 4 of our Happy Kitchen Project we decided to try a DIY project to inject some fun and colour into your happy kitchen. Keep reading to learn how to make your own Ombré Tea Towels. Ombré basically means the gradual blending of one color hue to another, usually moving from light to dark. To translate, the longer you keep the tea towel in the dye bath, the darker it becomes. We are very happy with the way they turned out! They were very easy to do and will certainly add a sunny lightness to any kitchen.
First off we found flour sack tea towels at Williams and Sonoma. They weren’t expensive at just 12$ USD. These are organic cotton so will take the dye well. It’s a good idea to wash and dry them first to take care of any shrinking.
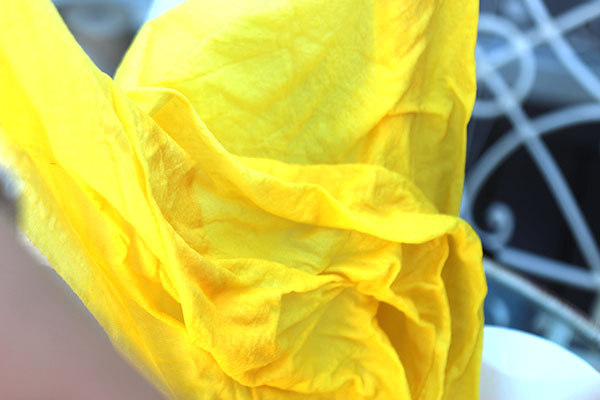
Then we headed over to the local dollar store and found some fabric dye for just a couple of dollars. We were looking for pink but they didn’t have any so we settled on yellow. We like the result. They are very sunny!
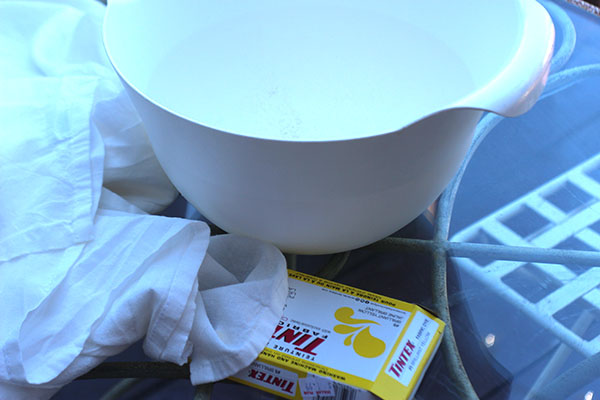
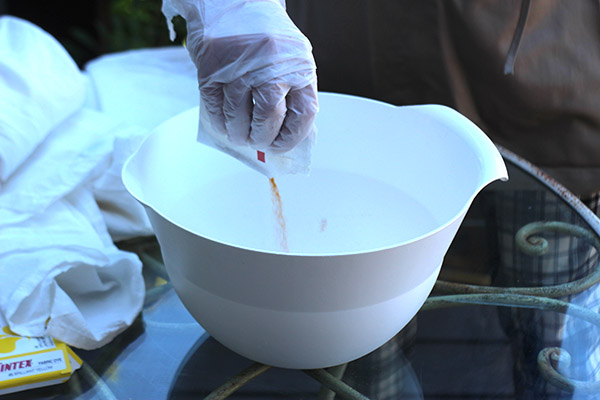
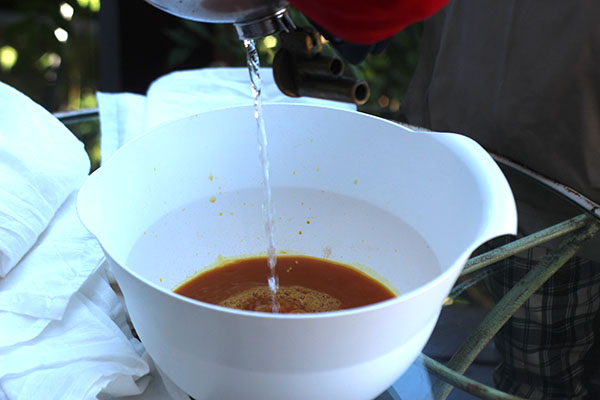
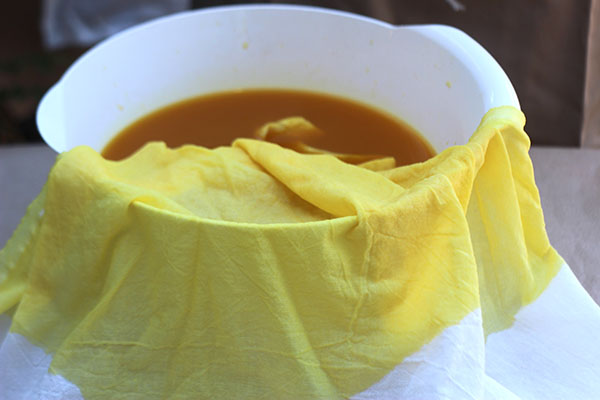
Tina had some disposable gloves, which was a good thing, but any kitchen gloves would work. We used a large bowl and followed the instructions on the box for the dye. Oh, and be sure to wear an apron for any drips or splashes!
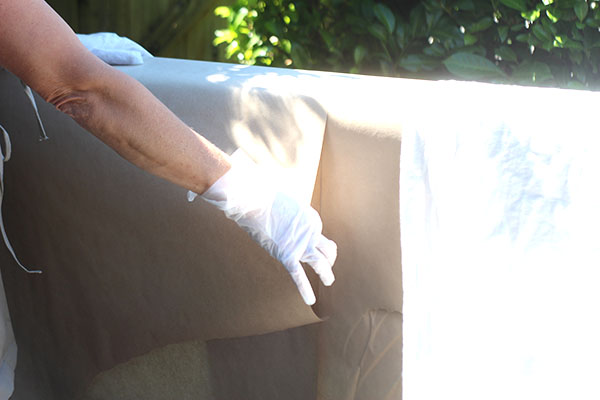
We did this DIY outdoors on a glass table, which was ideal. Do make sure you cover any work surfaces you are concerned about as the dye could stain other things besides just fabric. We covered work surfaces with brown craft paper, which helped a lot.
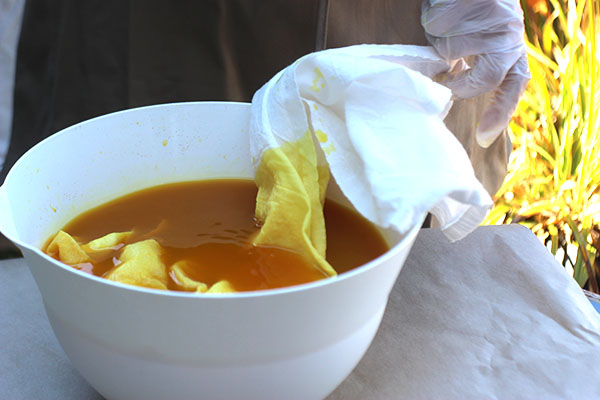
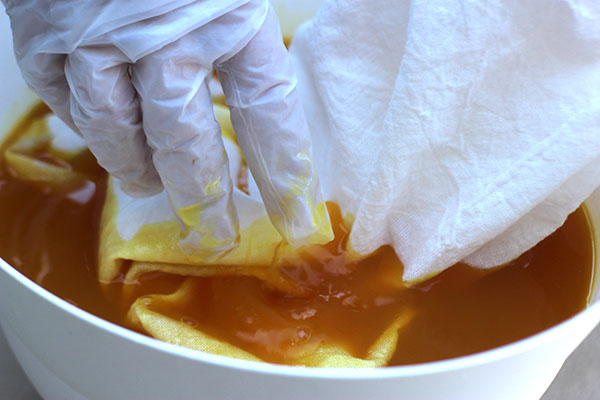
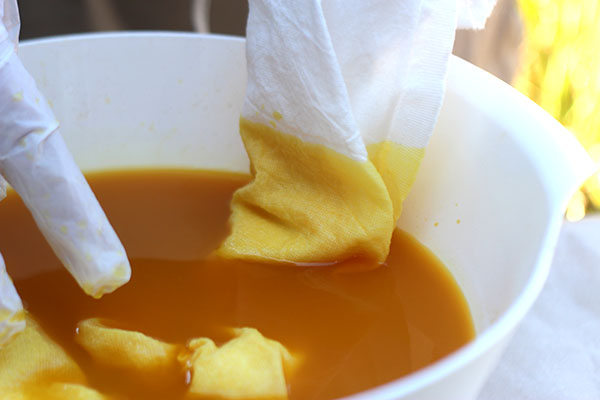
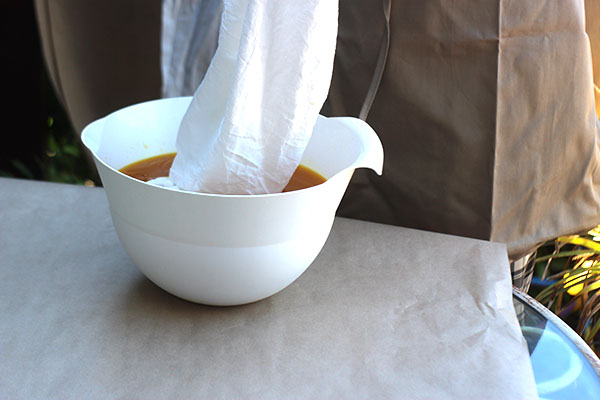 The first towel we dipped in almost all the way, leaving just an edge of white, and left in for a good five minutes before we pulled out the next section. We basically pulled it out of the dye every 5 minutes for three or four times. The dye got darker the longer the tea towel soaked in the dye. It bled up into the other sections which made for a great Ombré effect.
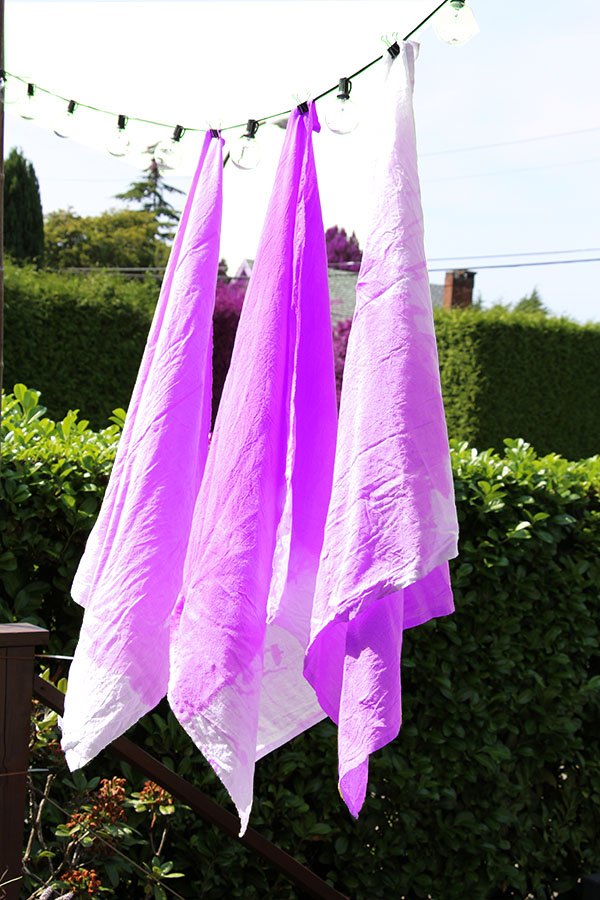
For the next two towels, we decided we wanted the lightest yellow to be even lighter so we dipped the towels into the dye very quickly. We like the effect of this better so do recommend just doing a very quick dip for the lightest Ombré effect on the upper part of the towel. We did the same process as with tea towel number one-pulling out the next section in 5 minute intervals.
Finally, when the dyeing was complete we removed the towels and left them to dry over the banister with craft paper underneath to protect the deck.
Once dry we rinsed them thoroughly to get all residual dye off and then washed them in the washing machine to “set” the dye.
Mix it up for fun!
Try different colours to change things up every once in a while.
In the end, we are very pleased with how they turned out. We are sure these Ombré tea towels with their personality, colour and flair will make a great addition to any “happy kitchen.”
Do try this easy and inexpensive DIY and let us know how they turn out, and what colours you picked!
Tomorrow, Day 5, we are back in Florida with Mandi, of Chewsy Lovers , who is going to tell us about the 10 tools every kitchen should have!! Don’t miss it!





Pingback: The Happy Kitchen Project: Essential Cooking Tools | Chewsy Lovers
August 7, 2015 at 6:00 amPingback: The Happy Kitchen Project: 9 Quick Ways to Spruce Up Your Kitchen | Chewsy Lovers
August 10, 2015 at 9:38 amPingback: The Happy Kitchen Project: Organizing Cookbooks & Recipes | Chewsy Lovers
August 28, 2015 at 10:22 am