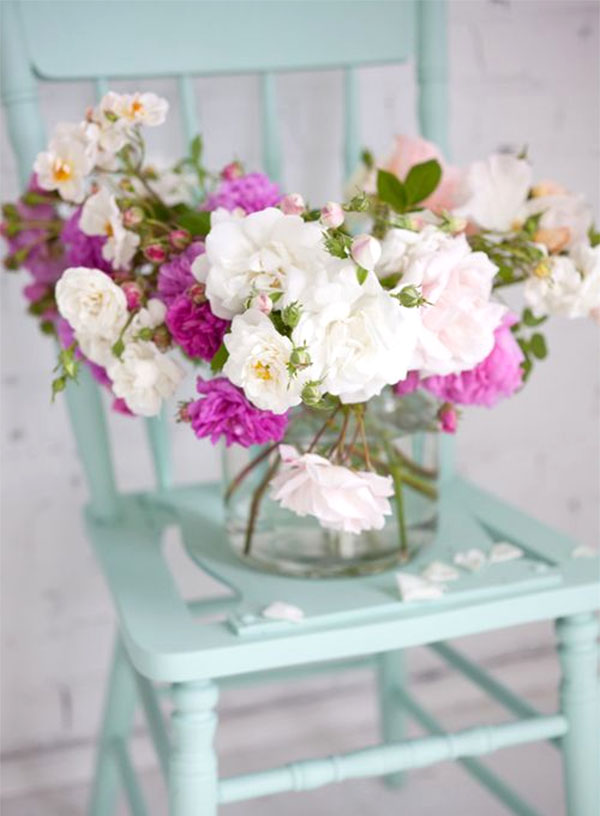
Happy Kitchen Project: Painting Ombré Chairs
Day 20: Happy Kitchen Project: Painting Ombré Chairs
So far on our month long “happy kitchen project” journey we have had recipes and colours and accessories and how to shop for your pantry and tea towels and vintage finds…Well, you get it- we’ve covered a LOT! Check it out here if you haven’t yet.
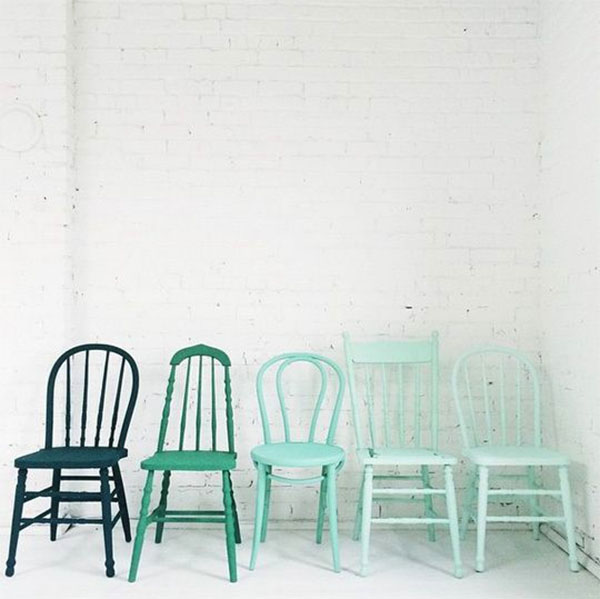
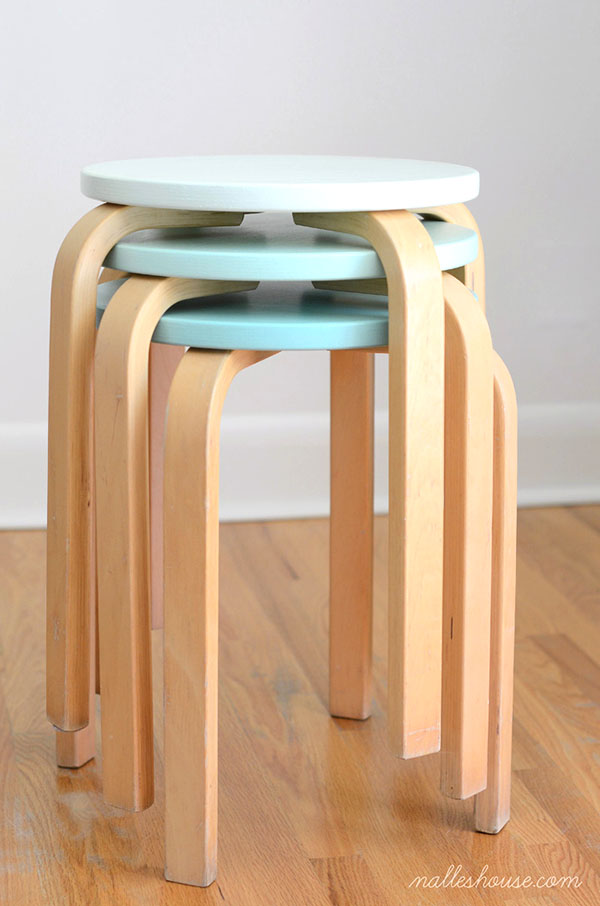
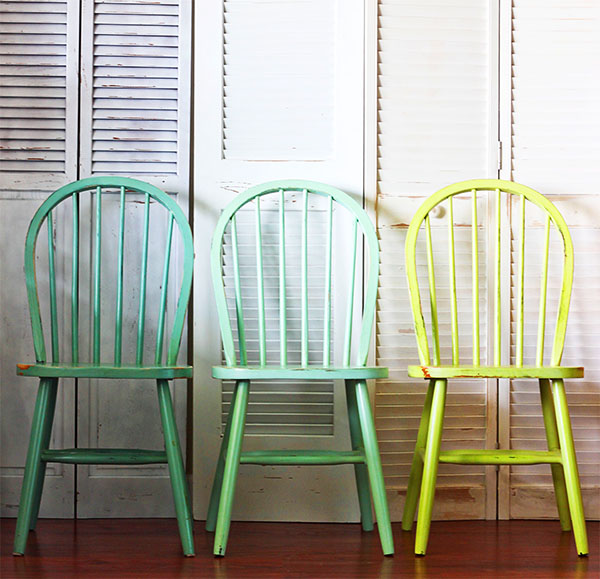
But what about furniture? Last February Tina and I went to Victoria for a media workshop run by @moonrisecreative. We had the pleasure of visiting Leslie Shewring’s studio and came across some wonderful chairs that Leslie had painted. We just loved the ombré tone of these vintage chairs (and have many pictures to prove it!). Ombré is everywhere right now and we’re loving it! I hope this trend lasts awhile as it’s a really fun one.
When we started this Happy Kitchen Project we immediately thought of those chairs and how they really exemplify how one can take something old or second hand and use paint creatively to re-purpose it. These chairs just ooze that “happy” vibe!!
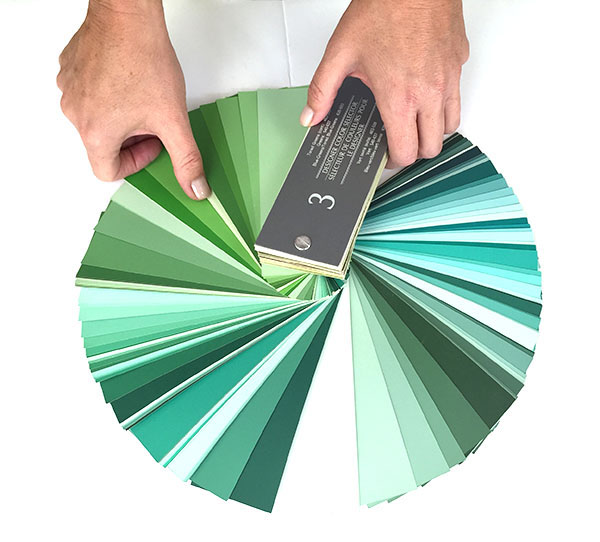
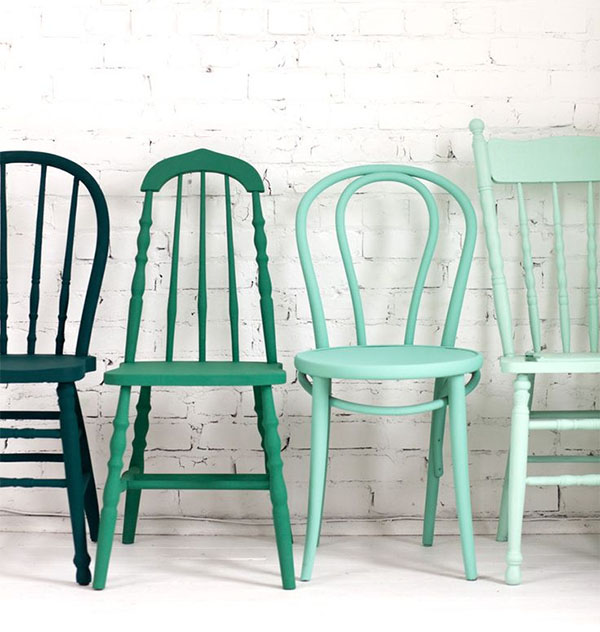 Remember back on our blog on colour? We talked about how to use your inspiration to find your colour scheme. So now that you have your colour scheme, you can go back to the paint store and find gradations of one of the colours you want to pull out .
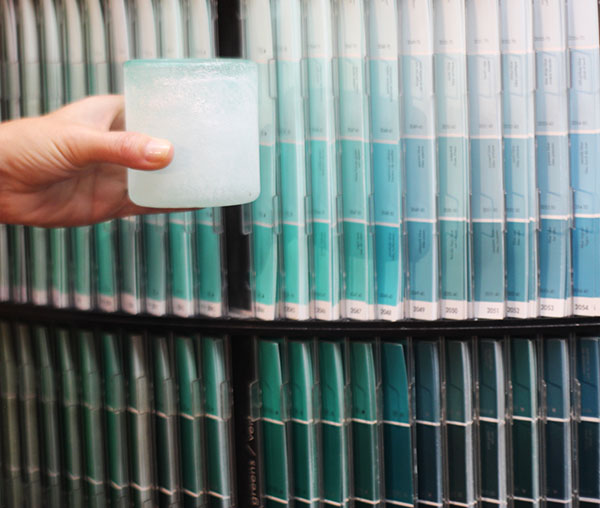 Have a look here at how we chose a gradation.
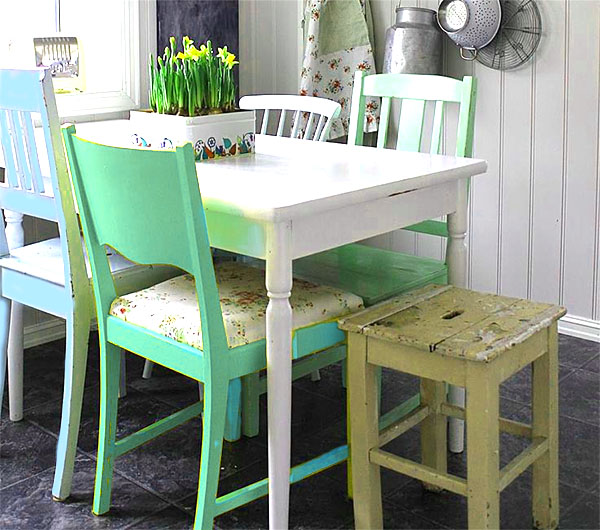
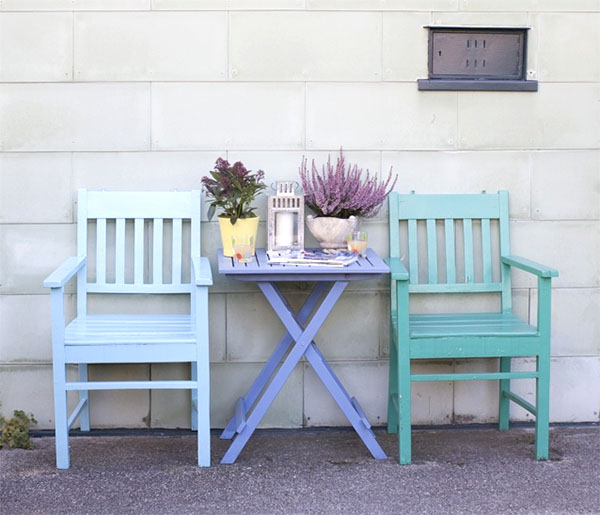
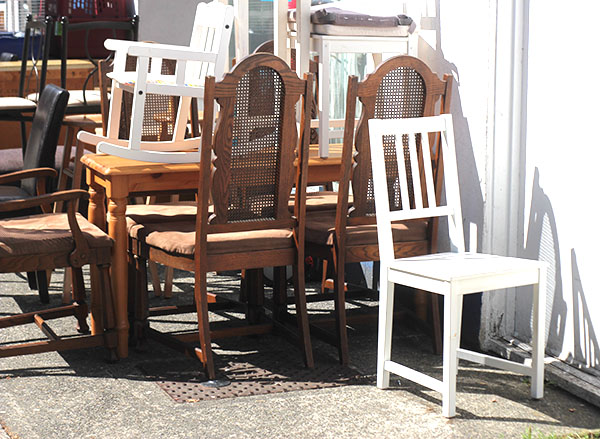
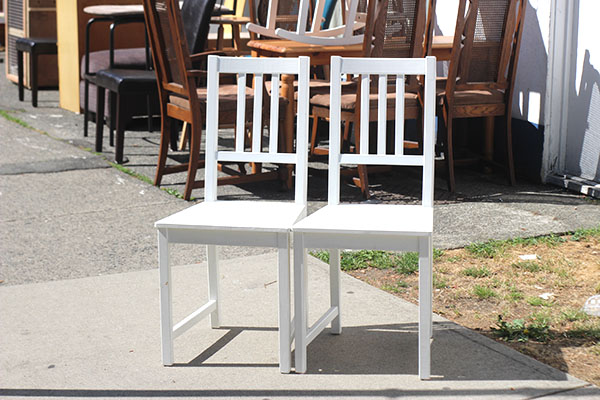
 Where do you find chairs to try this on? We went to our local Goodwill store and found some old white wooden chairs. We think they would be perfect for painting.
 What about materials? Here’s our list:
Materials
- wooden dining chairs (these can be all the same OR can be different-the ombre will tie them together)
- steel wool (paint-removal grade) or sandpaper
- drop cloth
- gloves
- paint primer ( if the chairs have previously been painted a dark colour and you are going lighter then a lighter coloured primer is a good idea)
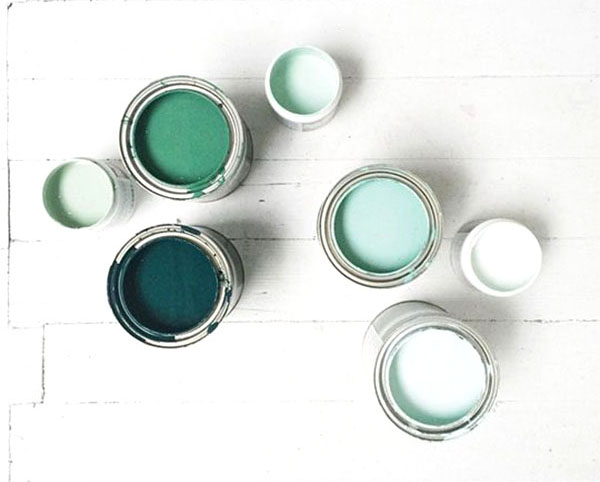
- 3 colours of paint or more
Instructions
- Wipe down the chairs with hot soapy water then wipe down again with clean water. This gets rid of any smudges etc. that may prevent paint from sticking.
- We suggest wearing gloves when you sand as little shards of steel wool will be hard on you hands. You are just looking to smooth it out and then rough it up a bit so the paint will adhere better. Wipe down again and make sure it is dry.
- Now you need to prime the chairs. Brush smooth and even strokes on the whole chair. Using a colour with a bit of tint in it is optimal. Having this primer will help the paint coat stick to the chair better. Make sure you turn the chair upside down and sideways to get in all the little nooks and crannies. Now let it dry-completely.
- Now you can start with the colour. Basically you are just doing the same as you did with the primer-getting into all the nooks and crannies and being carful to get full coverage. Paint two coats for best effect letting dry in between. Be patient!
- Let them dry for 24 hours before using them.
- To get the full ombre effect you want to do 3 or more chairs. The more you do the more the ombré effect will be apparent.
Are you ready to try this on your own? Send us your ombré pictures. We’ll post them on our blog for others to see.
Happy painting!!
Send us some pics or post to our Instagram handle @designerscollective_
Share with us on instagram with hashtag #happykitchenproject and tag us @designerscollective_ and @chewsylovers
We would love to share a few happy kitchens on our blogs during our 30 day challenge!
Thursday we are back with Mandi from Chewsy Lovers who will be posting from Fort Lauderdale, Florida. We will post the link for her blog in the morning for all of you to read about her tips for a HAPPY KITCHEN!!
Use hashtag #happykitchenproject to show off your handiwork.


Pingback: The Happy Kitchen Project: Organizing Cookbooks & Recipes | Chewsy Lovers
August 28, 2015 at 10:20 amandrew@the best chairs glider
May 20, 2016 at 4:25 amHi,
I like your ideas, but I’m still trying to come up with more- I have a victorian table that my husband loves because of its ability to enlarge- it can pull out to accommodate up to 20 people! but it has a way overcarved ornate pedestal. We live in a mid-century modern house which is yelling for something simple- any ideas? I saw your round victorian painted white, which is a good idea- but might be a little too farmhouse? but not ready to paint it black… but maybe something close- have you done any others? you’re a great help- thanks
tina
October 26, 2016 at 3:00 pmHI There,
So sorry for the delay! Somehow we missed your question. It would be great if you could send us a picture. Of the top of our head we think you should explore keeping the top but replacing the pedestal with something simpler like a cross base or a parsons-style legs. Or are you looking for a colour to paint it? Send us an email at info@designerscollective.ca with pictures so we can take a better look. Interesting project.