


The Reveal: DIY Powder Room Makeover
Tina’s DIY Powder Room Refresh
This powder room makeover and DIY, came about when American Standard asked us to use their new ‘Speed Connect’ faucets in one our projects. Tina’s powder room was the lucky winner of a little refresh. Read more about the “before” HERE.
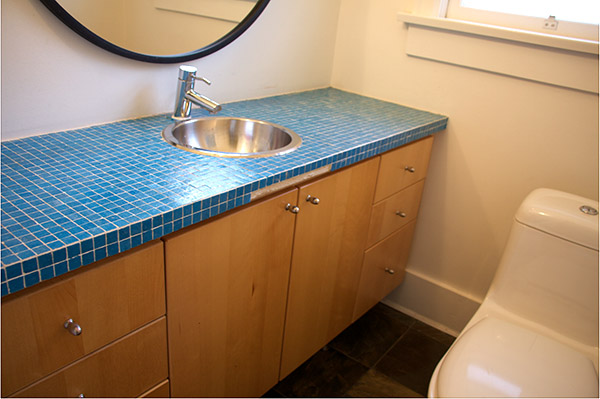 Our first order of business was to come up with a plan. What did we want to do? The floor was in great shape as was the toilet and sink. The counter and vanity needed some attention, and then we needed to install the new faucet.
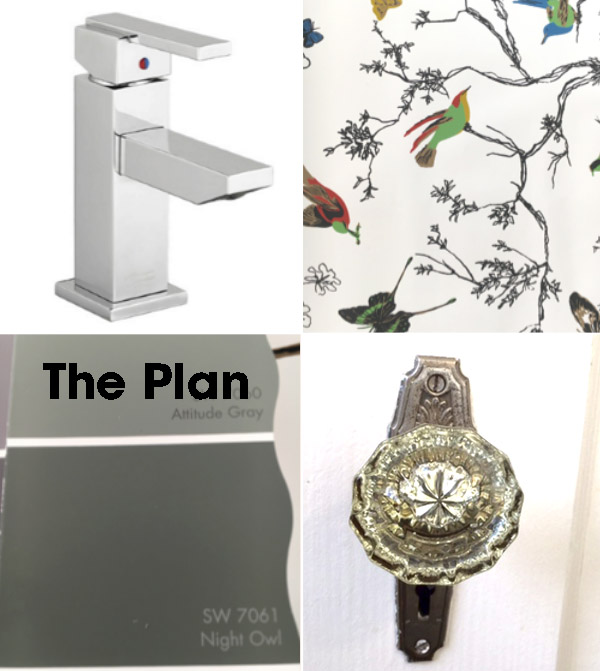
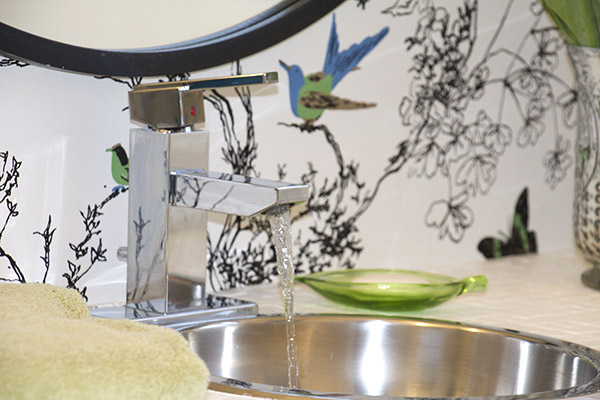
The faucet is called Times Square Monoblock faucet and we were so excited to have this as our jumping off point.
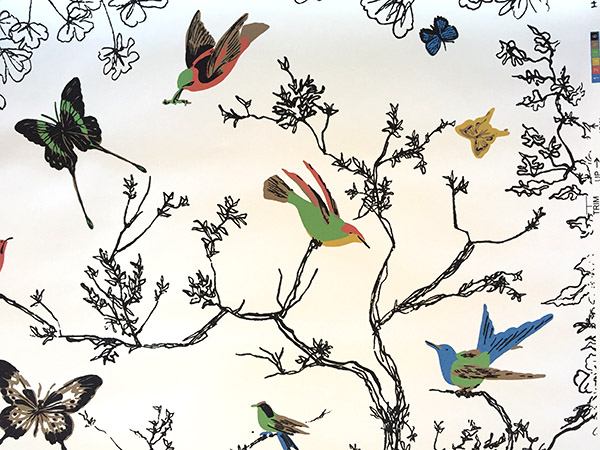
The next decision was, what mood were we wanting to create? The powder room was white with a blue counter top- we wanted to do a big change but not spend a lot of money. I had some wallpaper in my storage area that I had saved because I loved it so much and wanted to use it on a project, so we pulled it out and Tina immediately loved it as well.
 Neither Tina nor I had ever hung wallpaper before but we were up for the challenge. I mean…how hard could it be? Right?
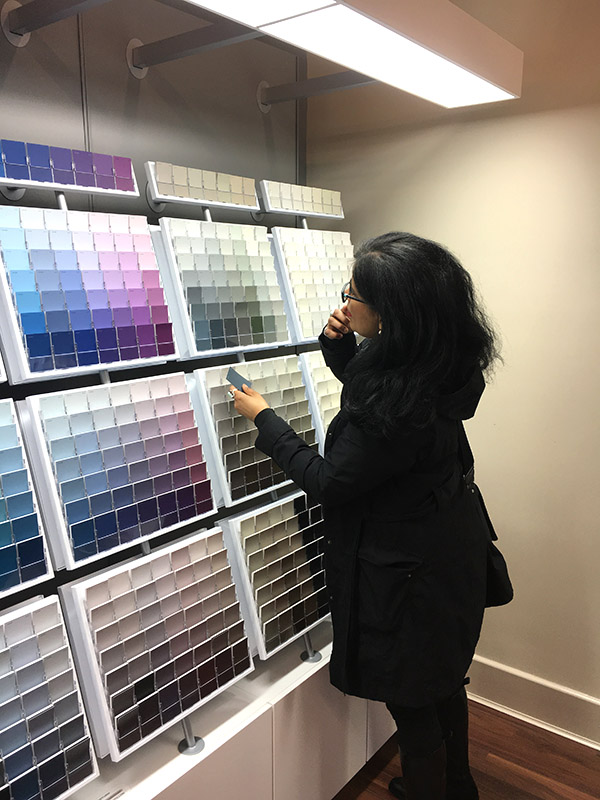
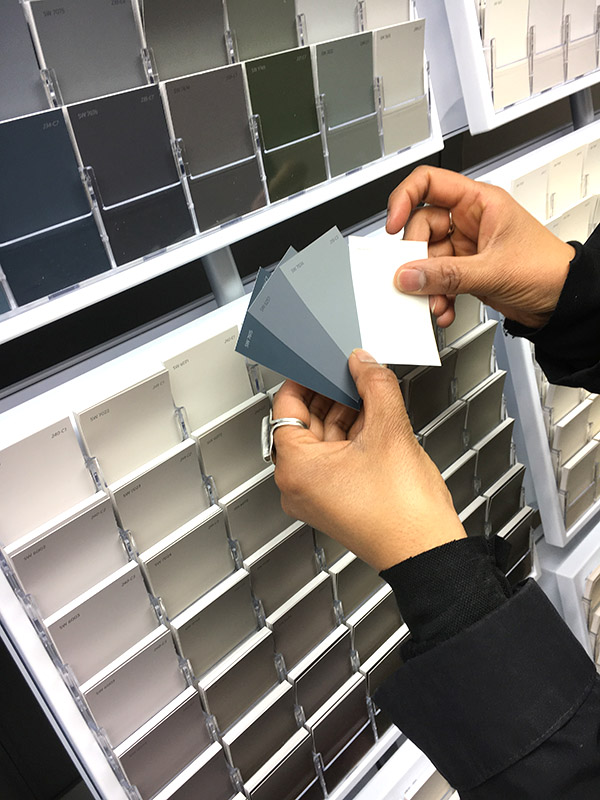
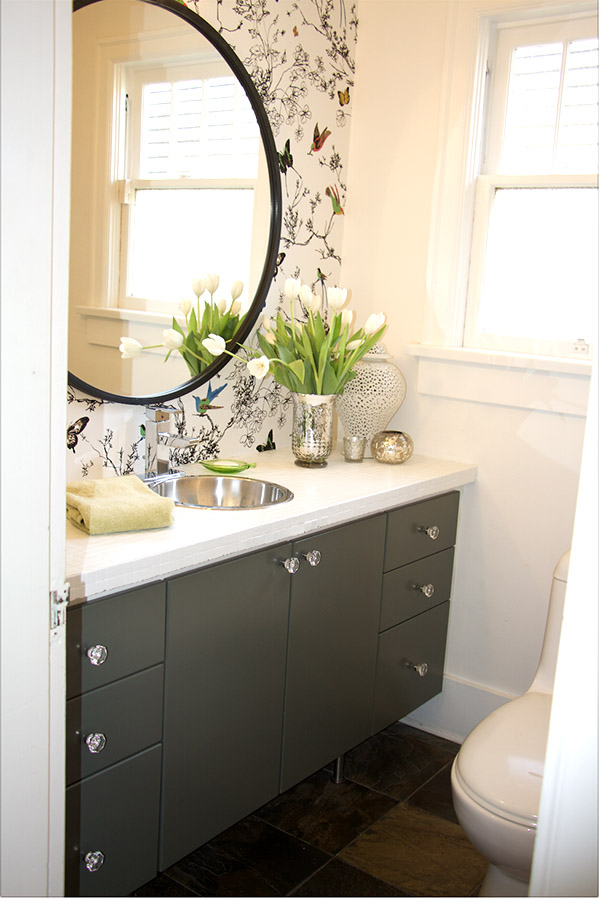
The wallpaper was a great place to pull colour from so we pulled out the Sherwin Williams paint deck, as they were collaborating with us to supply the paint. We combed through the myriad of colours. We used the slate floor to help us pick a colour for the vanity. We decided on SW7061 Night Owl for the vanity front. It is a warm grey/green that worked beautifully with the floors as well as the wallpaper.
 Initially, we had wanted to replace the countertop. We did ask for advice from a carpenter we knew but we got a little hung up on the how we, who had never replaced a counter before, could actually pull off using a special saw to cut the hole for the sink. It was starting to feel a bit daunting even for this fearless duo! In the end we decided to use a special tile paint from Sherwin-Williams to paint out the tile on the existing counter top.
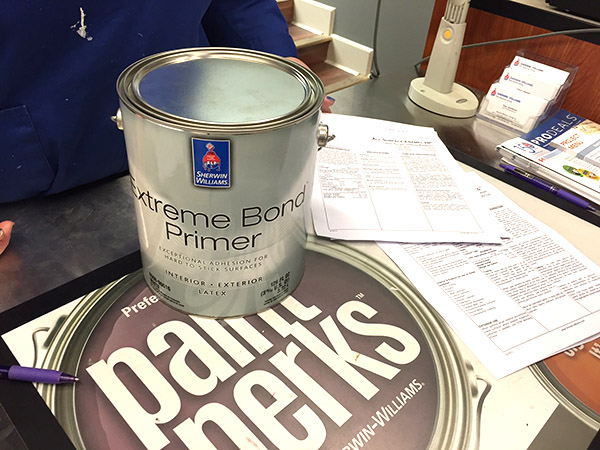
This meant a trip to Sherwin Williams paint store as we really needed some advice on which paint would be best to use on the tile counter. Would we need a primer? What brush or roller is best? Lisa Wong-the Sherwin Williams store manager- was a great resource for us and told us which primer would work best along with which paint and roller would be ideal for this job. She also gave us tips on painting the Ikea vanity doors.
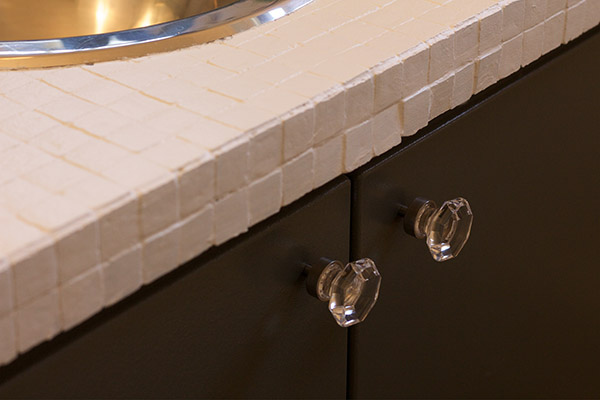
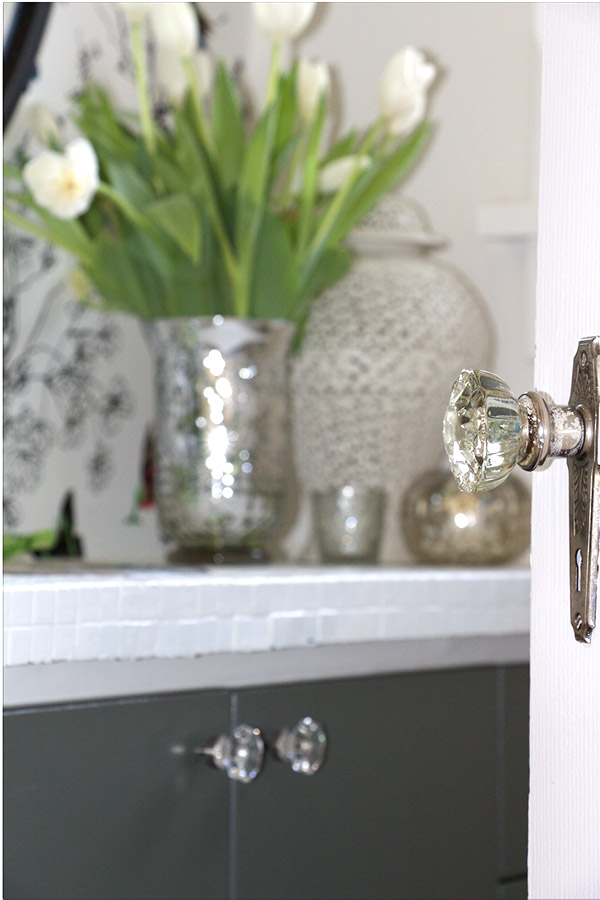
 Next up we needed new hardware for the cabinet. It’s great to try the big box stores first, as they sometimes will have just what you need or want at a fraction of the cost of a specialty store. In this case, we went to Home Depot and came across these beautiful glass knobs and knew they would be perfect because they went well with the existing vintage glass doorknobs on Tina’s powder room door.
We also did a little shopping at Home Sense. We used the colours in our wallpaper to pick out the right towels.

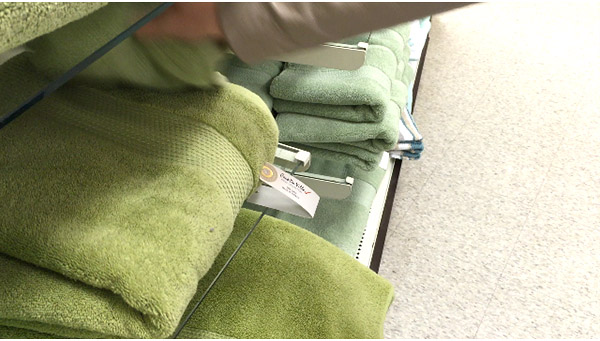 We ended up picking fresh, new hand towels in a soft sage green that went beautifully with the wallpaper.
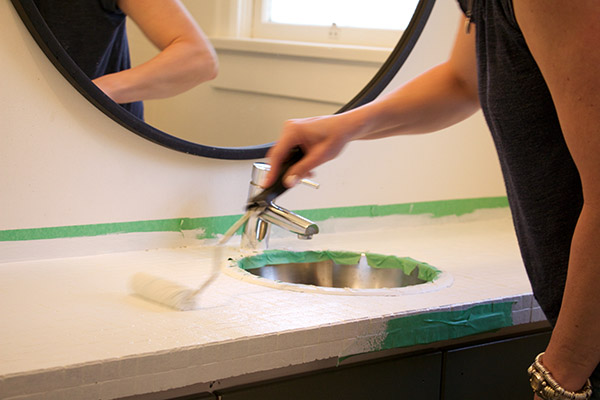
Then it was time to get started painting. We used painters tape to tape off all the edges so we didn’t get any paint on the walls or on the sink. We also used newspapers on the floor to catch any paint drips. Preparing the space and making sure you have all the correct tools is half the battle. It is very frustrating to get into a project and then have to stop and go purchase something you need for the project.
We primed both the counter and the vanity doors and frame with Sherwin Williams primer.
 Then we used their paint for the counter and vanity doors.
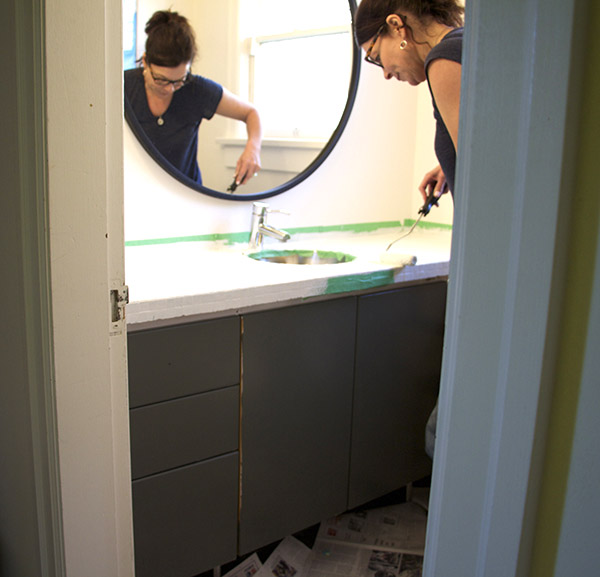
 We used brushes to do the edge cut ins but then used small rollers to get a really smooth finish. We did one coat of primer and two coats of paint. Painting was very straight forward and we were very happy with the quality and coverage of the paint. Before the final coat of paint we decided to take out the faucet which would also make the wallpapering easier.
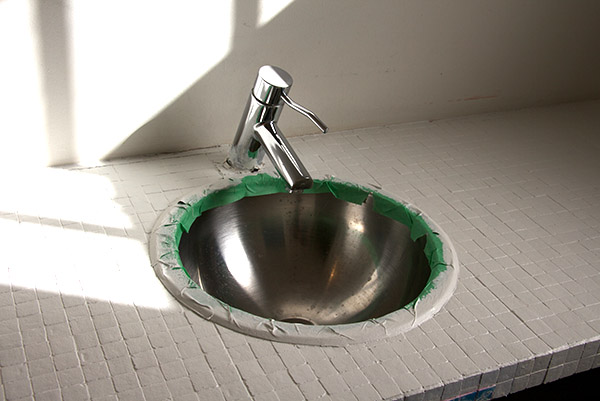
The faucet was relatively easy to take out. We just had to have a couple pair of crescent wrenches-one to hold the lower part of the hose attachment stable and one to unscrew the bolt. The hardest part was that the nuts were done up very tightly and just required strength to get them undone!
Next up was the wallpaper. Did I mention this was the first time either of us had installed wallpaper before? I LOVE wallpaper. I think it adds a real injection of personality to a space so I use it quite a bit when I do a redesign of someone’s home. I particularly like it in powder rooms, kids rooms, or as an accent wall.

In Tina’s bathroom we decided to do an accent wall and thank goodness that is what we decided because it took us 5 hours to hang 3 panels of wallpaper! We had looked it up on YouTube and read various articles and even talked to others who had hung wallpaper and it really seemed like we had a handle on it. Until we actually started…
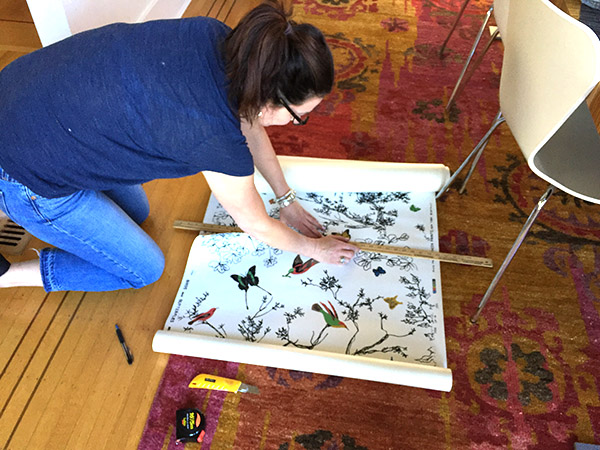
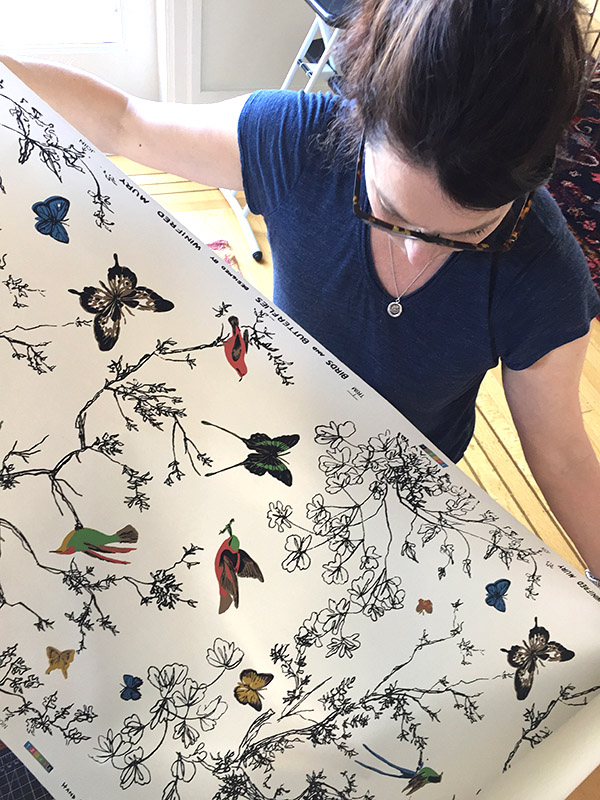 This particular wallpaper had a “join” edge on each side but when we tried to join it up you couldn’t see below the edge to match it up. It became very complicated. We ended up cutting the edges off and just seaming the edges up together. Once we figured that out it went ok, but it was a lot of sweat equity on that install!
In the end, I am really glad we did it. It looks gorgeous and adds so much to the space but it was a great learning experience too. Now I will know when I specify wallpaper what to look for!
Now it was time for the faucet install….
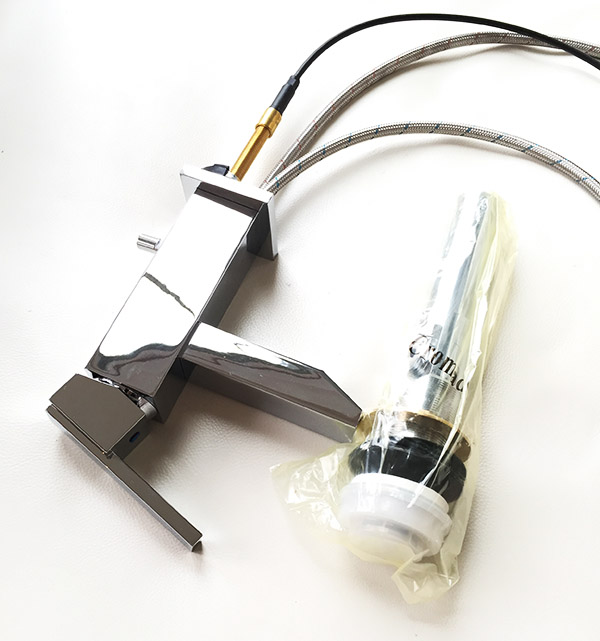 This faucet comes with a new drain system as well as the faucet. Because this was a refresh and we wanted to keep the sink, it was hard for us to figure out how to change the whole drain system, even though it looked straight forward. The faucet and drain system come fully assembled, which is just great, but because this was a retrofit we couldn’t get the old drain system out, and reluctantly decided we had better call in a plumber.
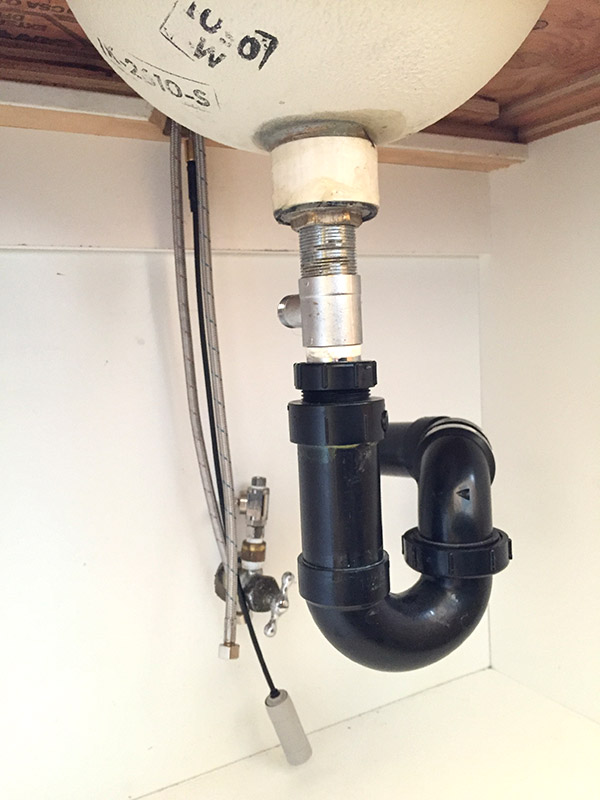 We feel the installation of the ‘Speed Connect Faucet’ would have been straight forward for someone with even a little experience, but neither Tina nor I had ever done any sort of plumbing before. Given this, we were nervous to start prying pipes apart.
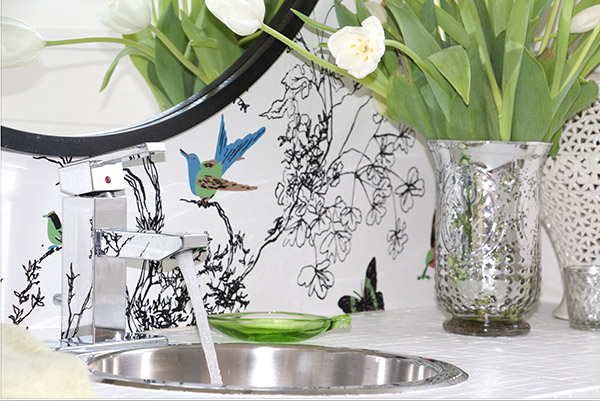
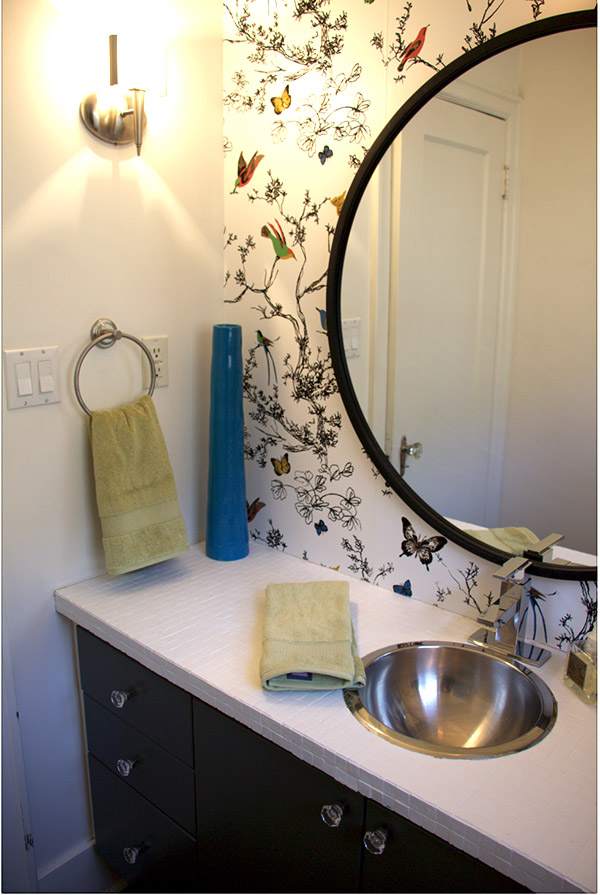
We were pleased with the results! The Times Square Monoblock faucet is really beautiful.
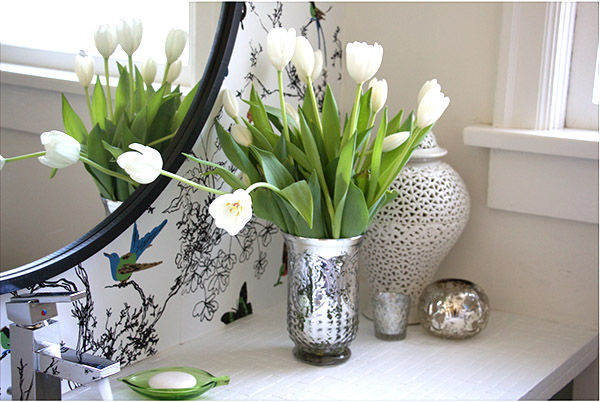
Finally it was time to add the “pretty”. We added the glass hardware, which is just a very easy update and then added some decorative objects. The towels we chose were such a lovely light colour to add in the space.
In the end we are very happy with how it all turned out. Tina’s powder room got a nice Spring Refresh and we feel really good about doing it ourselves. We’d like to thank American Standard and Sherwin-Williams for collaborating with us.
 Good News!! We have an American Standard faucet to give away to our readers who would like to try doing a DIY bathroom makeover! Details to follow along with a resource guide for this project.
Have a look at our video and experience our refresh with us!